Showing posts with label diy. Show all posts

Wednesday, July 31, 2013

bathroom envy

So I have this aunt who is amazingly crafty. She's been making rugs and wreaths and other pretty things for as long as I can remember. She's also a landscape designer and has a yard that looks like it's straight out of a magazine (waterfalls and all). And she has the cutest little shop on her property where she sells candles, lanterns, and other little knick knacks. She's pretty adorable.

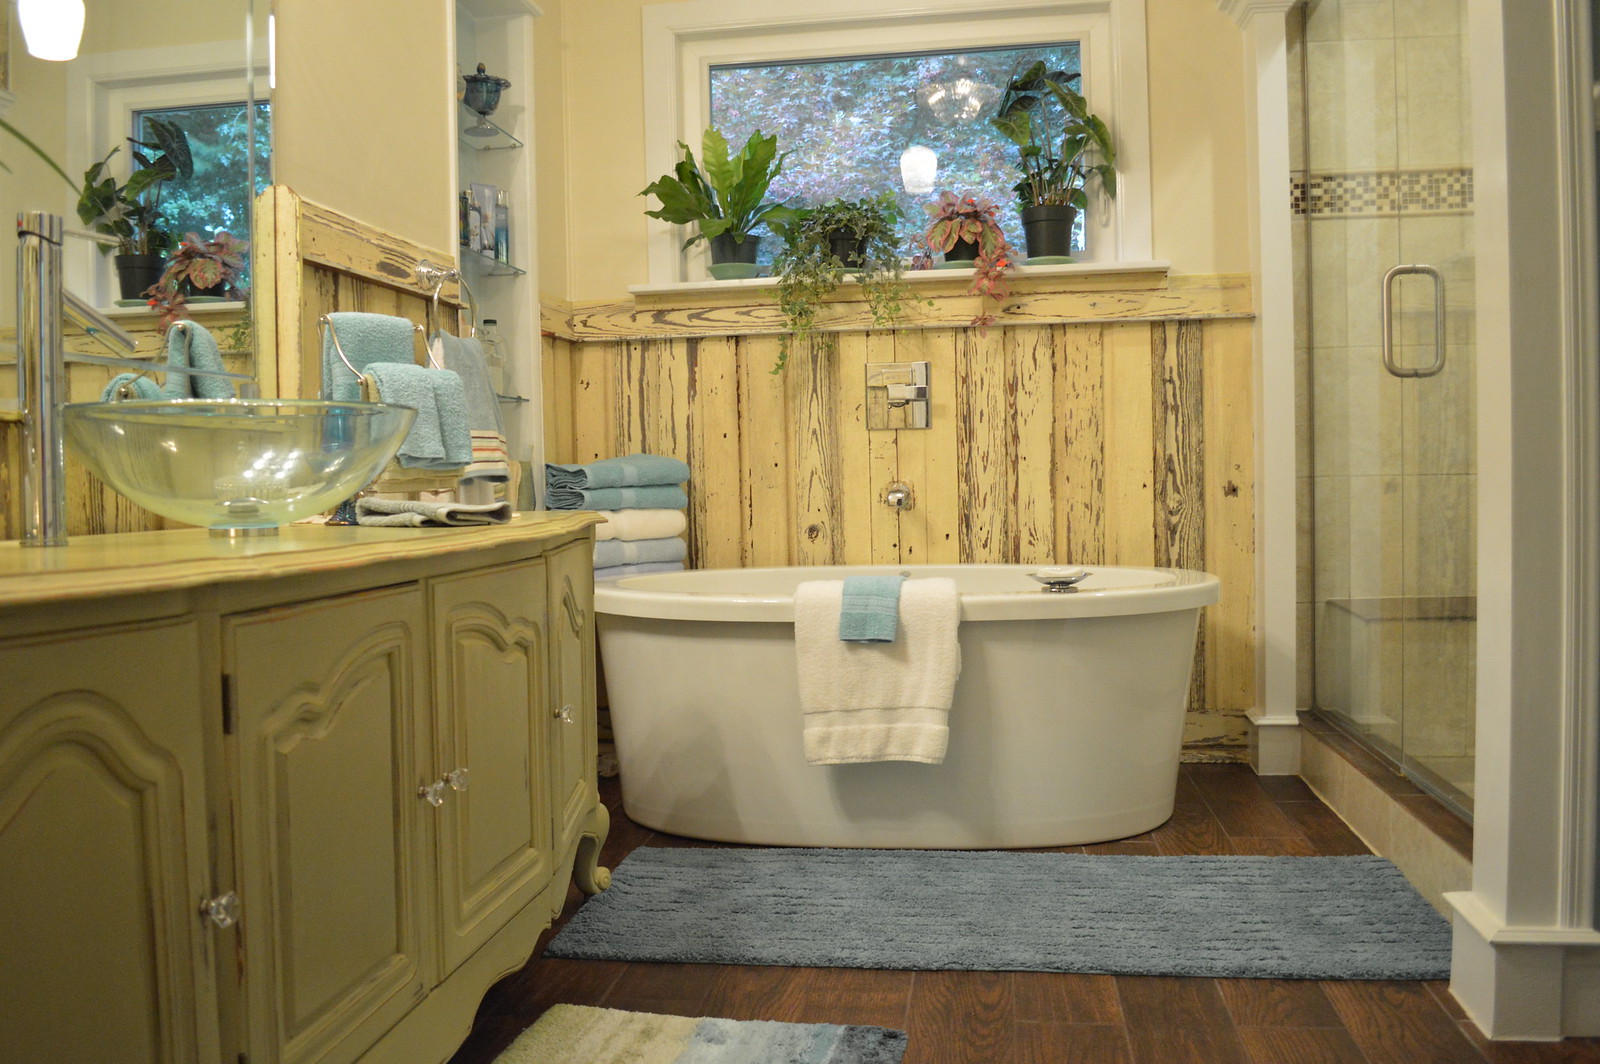
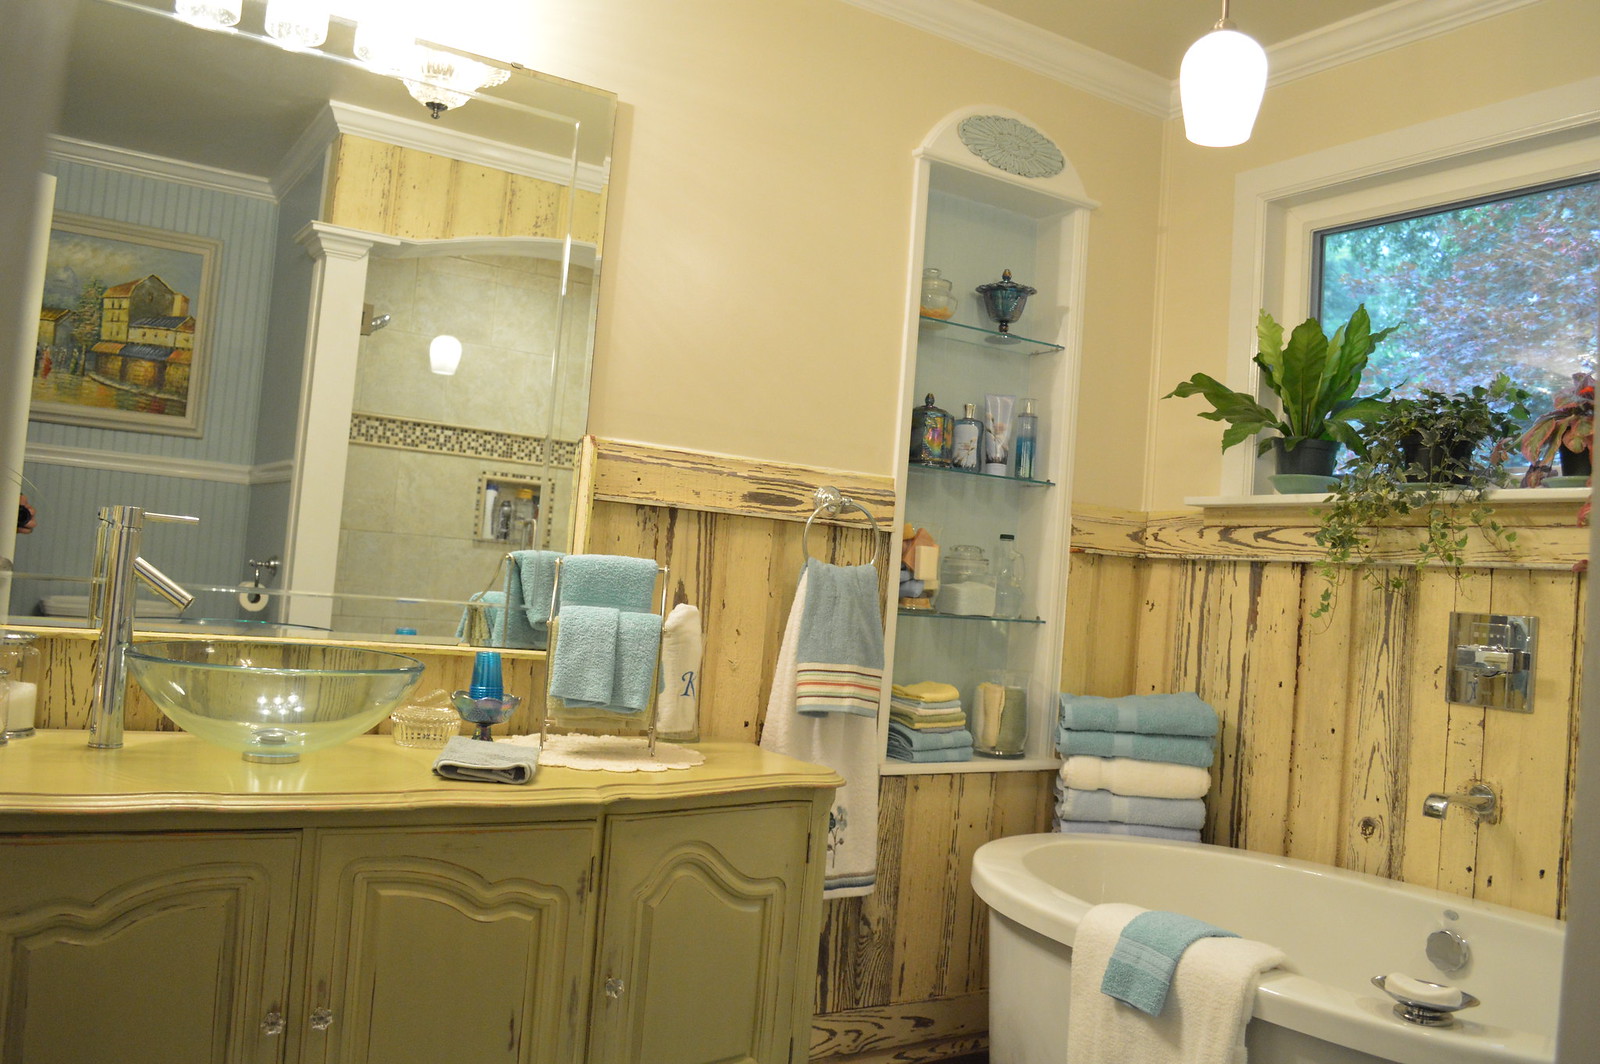
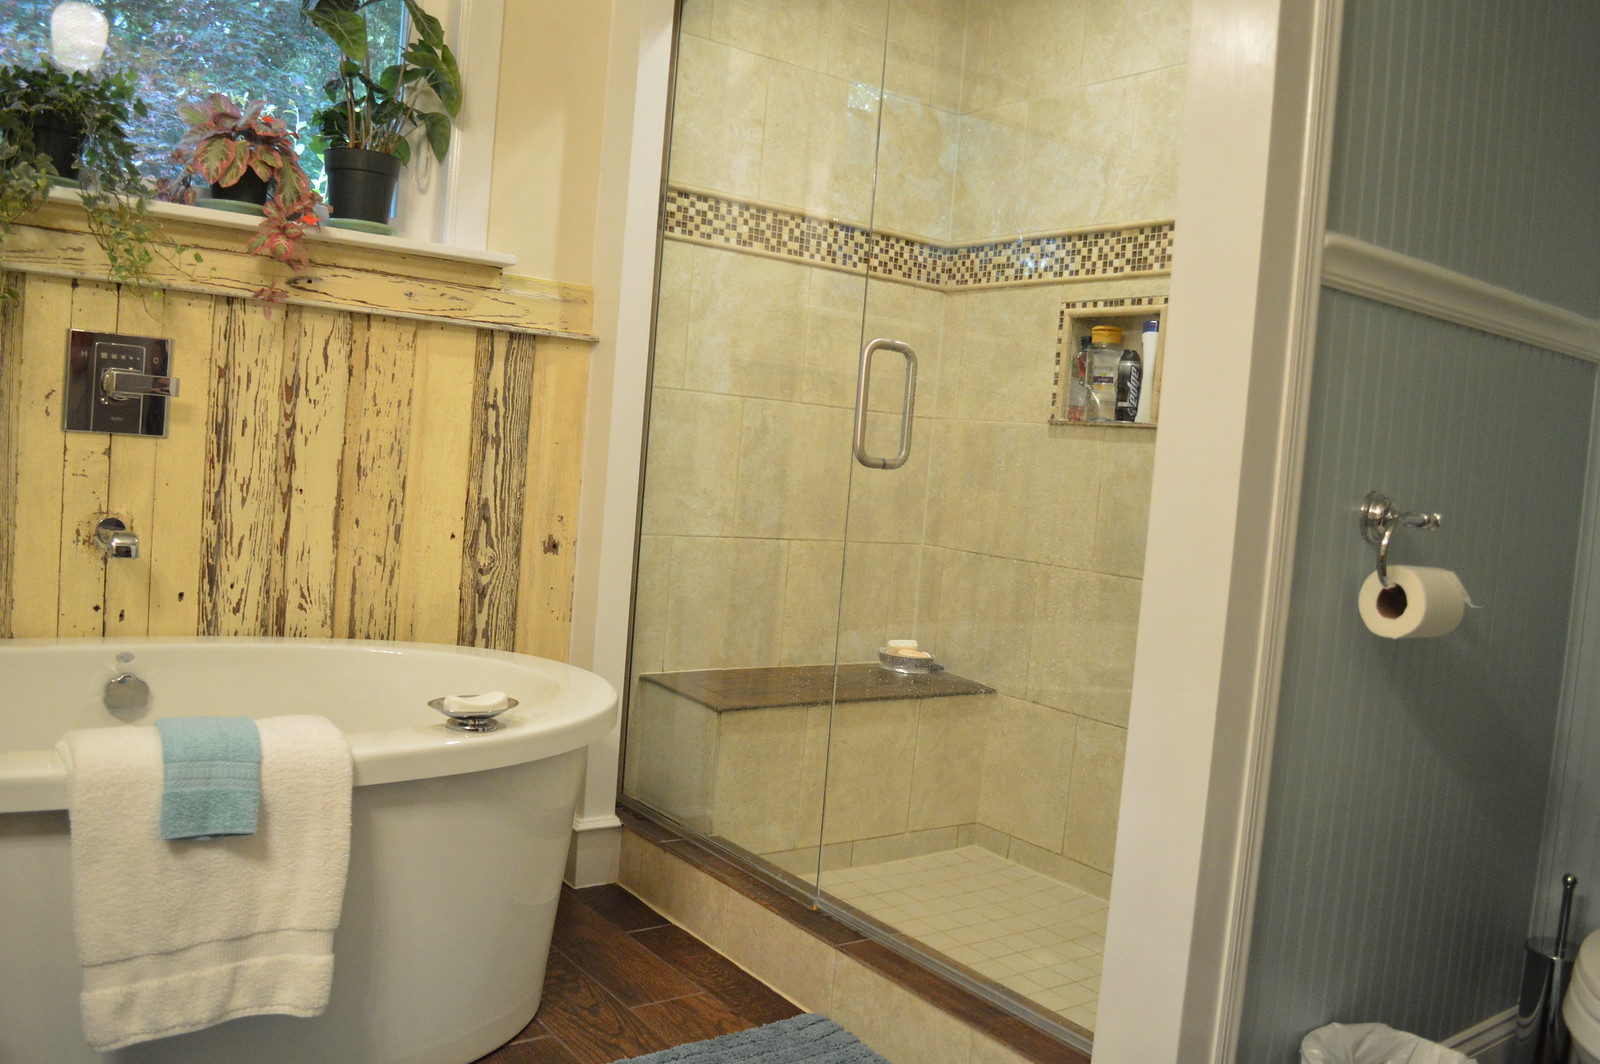
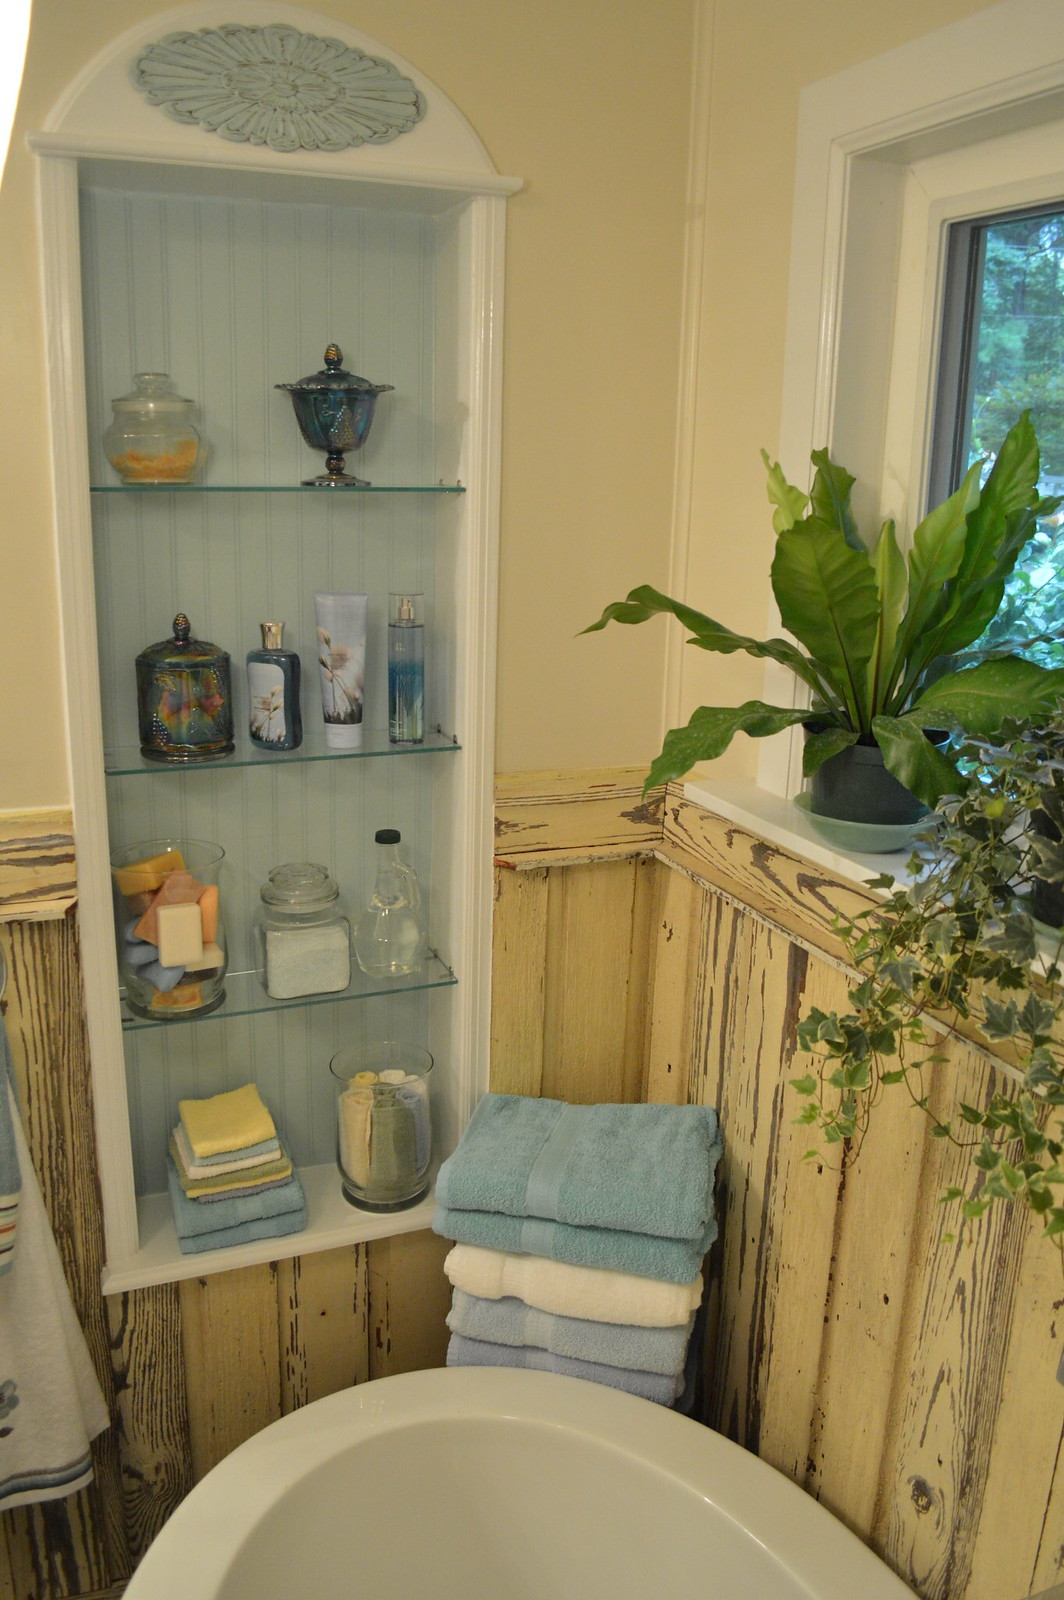
We had a chance to gather at my aunt and uncle's home while I was in town for my cousin's wedding last weekend and I was BLOWN AWAY by her new bathroom remodel. After I picked up my jaw, I grabbed the camera and started taking pictures. Lookit!


I am so sad I don't have a before picture to share. The bathroom was about half this size with no window, a tiny one person vanity and a shower/tub combo against the back wall. My uncle borrowed some extra square footage from a back bedroom to make this space roomy and inviting. My aunt found the buffet-turned-vanity while at thrifting one day. She didn't even have to paint it! They saved pennies by buying scratch and dent with the tub and shower doors and doing all of the remodel themselves. So cool. I also fell in love with the floors, which are a hand-scraped tile. I'd like to do something similar in our kitchen. And the wall paneling? That's from my great grandmother's home that was torn down earlier this spring. Amazing. And so special!

I love pretty much everything about it. The colors worked beautifully together and I want to live in that bathtub.


Jute Jute de Loop

It's been the summer of light fixtures here at Casa de Osborn. A few weeks ago, Tanner's parents came into town for the weekend and somehow between taking them on a tour of all the awesomeness that is Waco we completed two, that's right TWO, new light fixtures for the house.

I. am so excited. to be sharing one of those today! So excited.

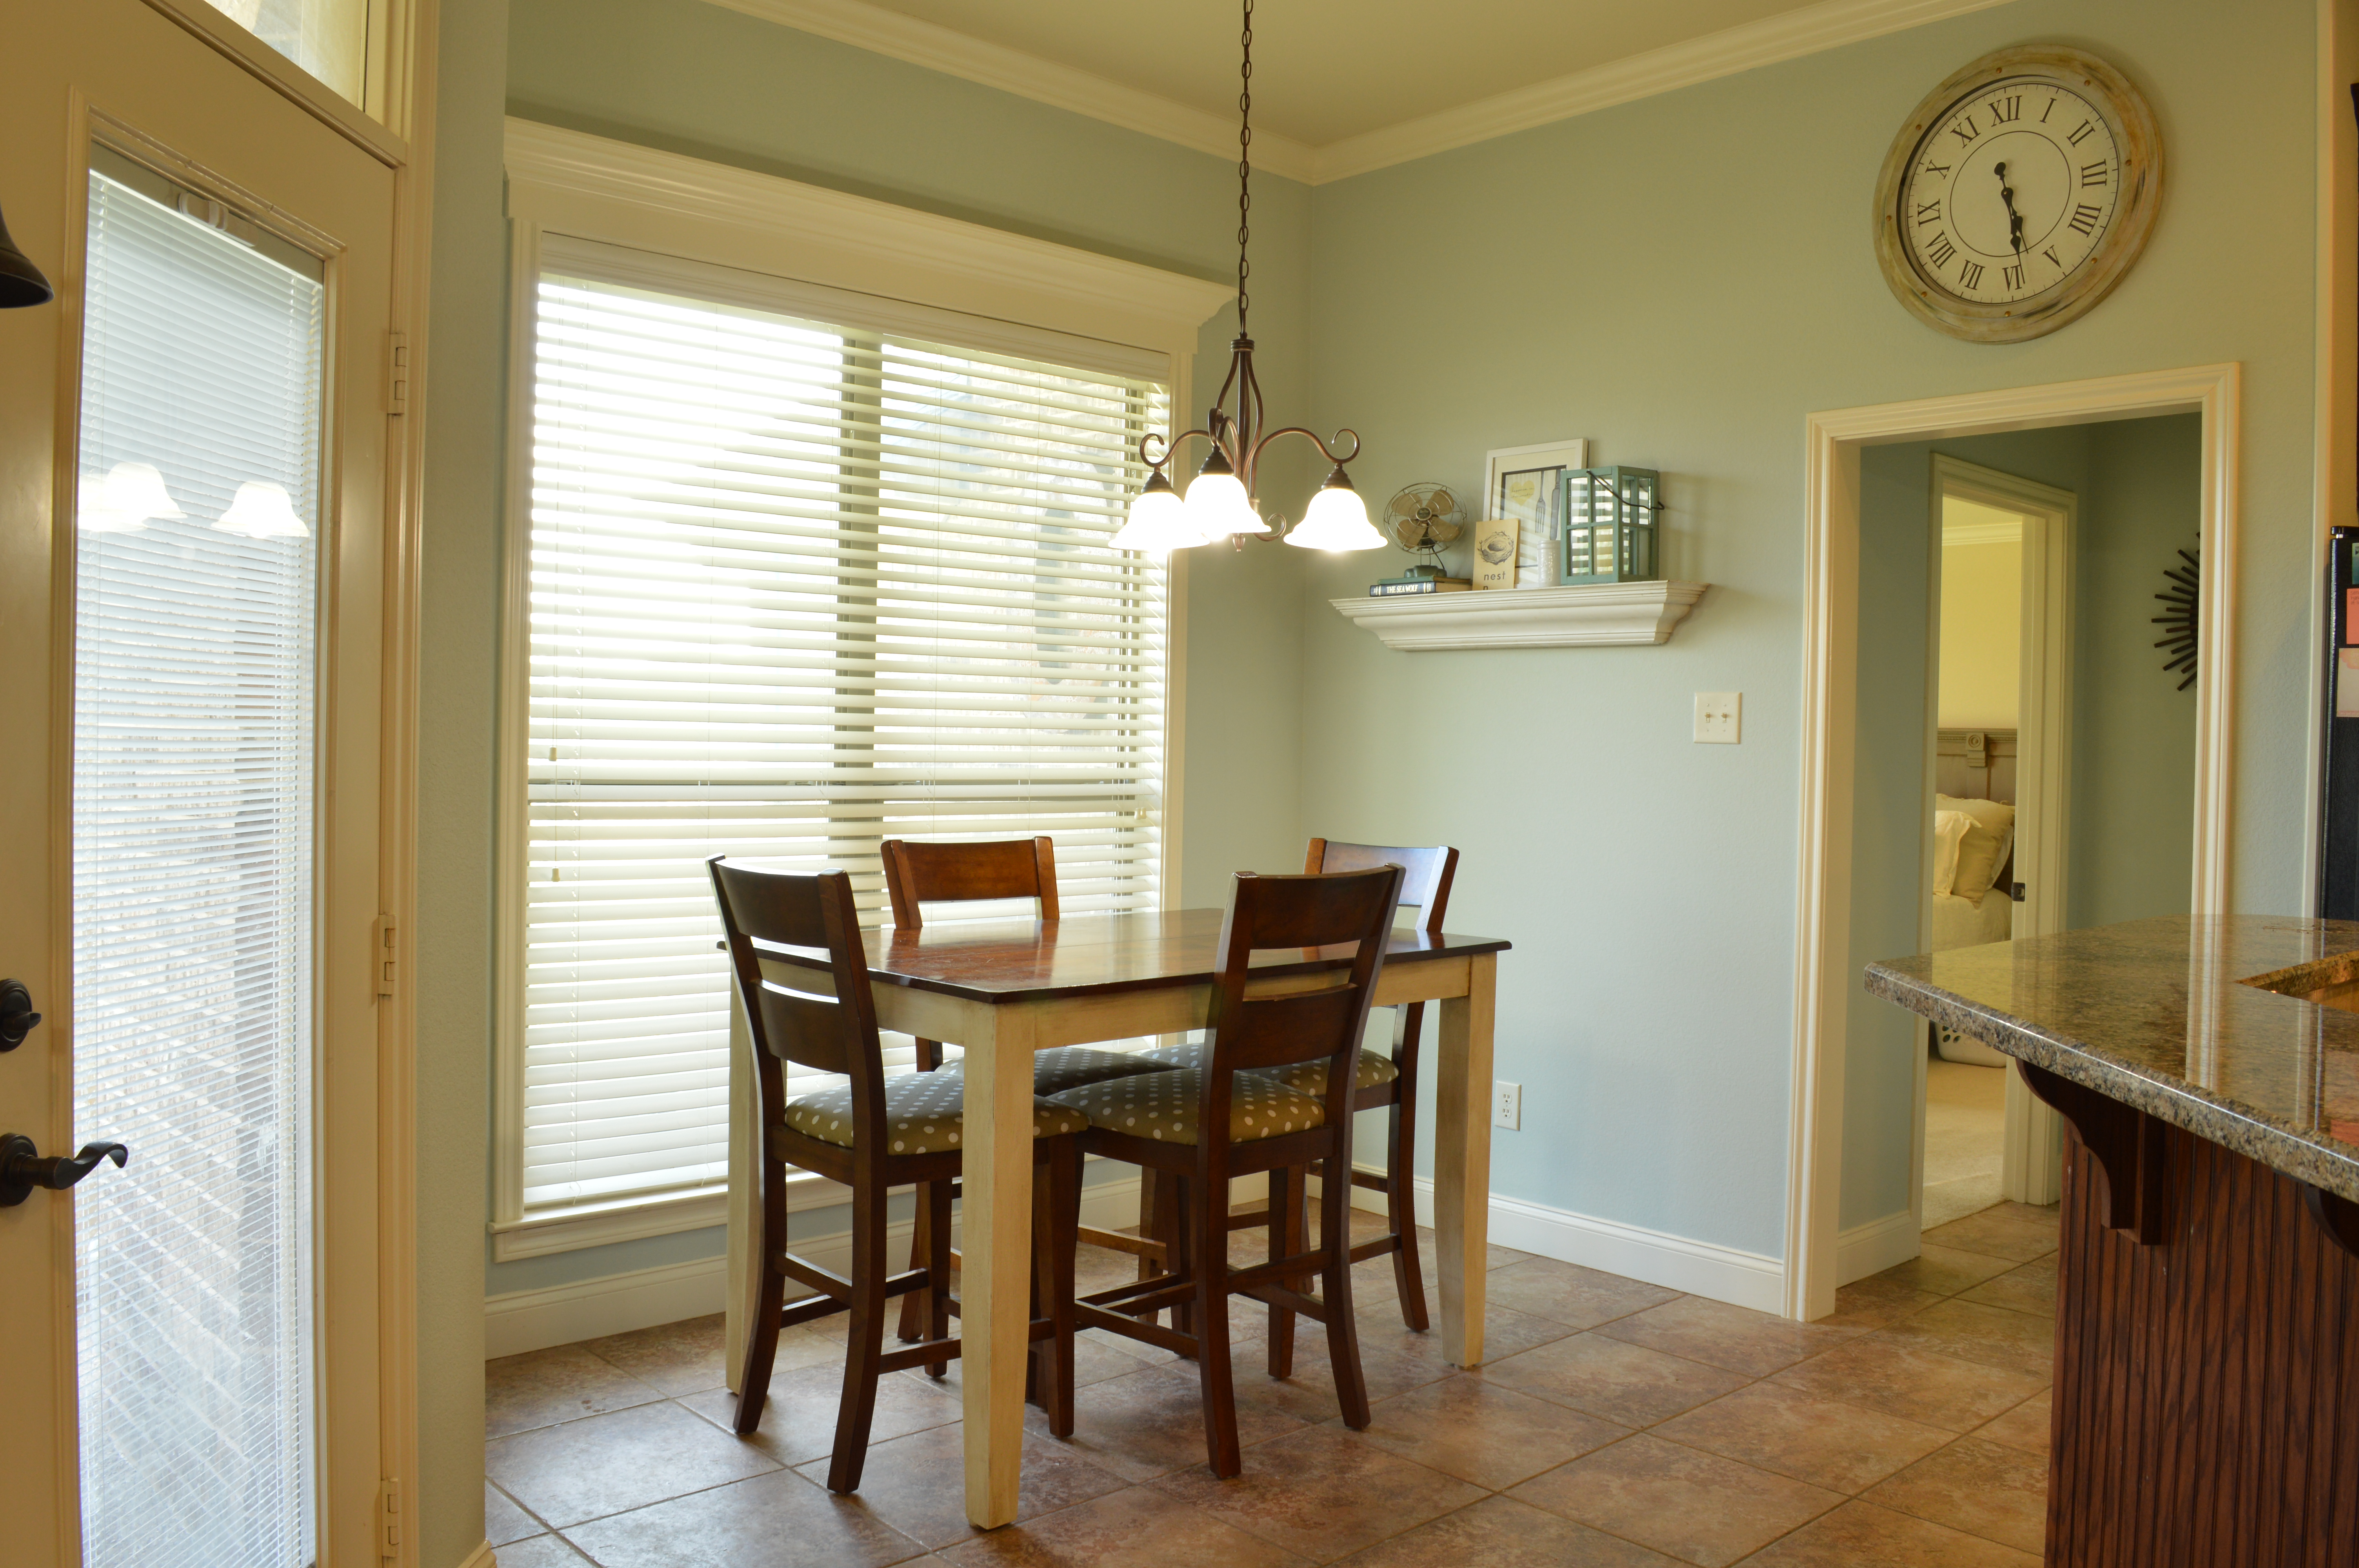
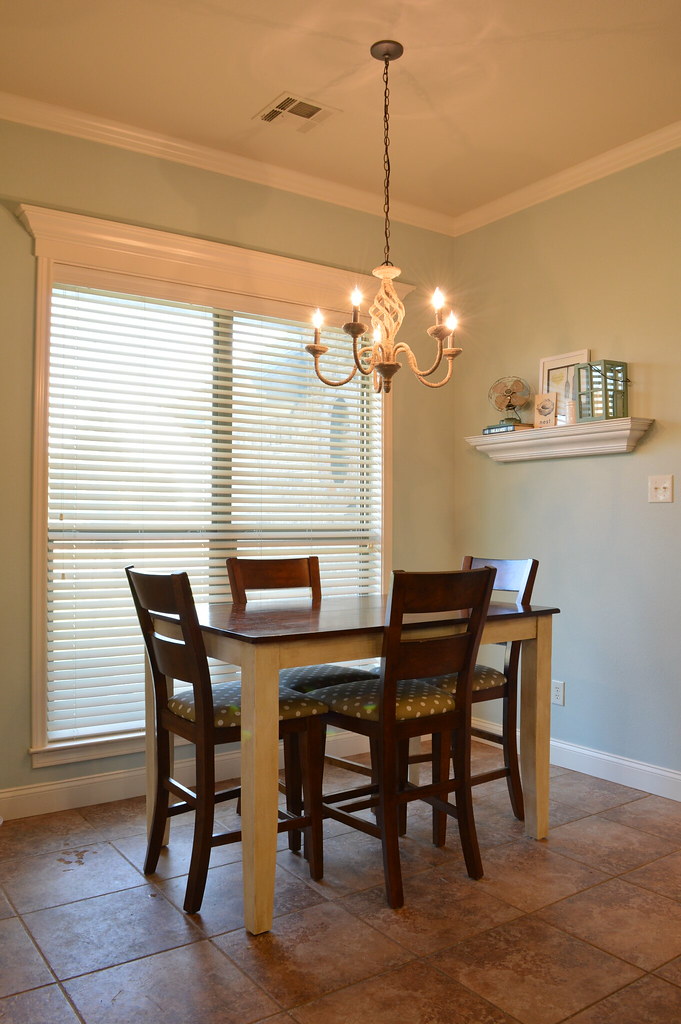
But first, meet our breakfast area.


Not awful, right? It's really come a long way. New paint on the walls and table have really helped brighten things up in there. That light fixture though...kind of a theme happening throughout the house. And not really my favorite.

So we're updating! Fixture by fixture. Slowly but surely. With a little DIY lovin' along the way.

Our updated color palette is on the cool side. Lots of muted blues and greens. A little bit cottage. A little bit coastal. Keeping this in mind, I started looking for the perfect light fixture to complete our space. I found myself swooning over beauties like this, this, and this. Those price tags though...that made me sad.

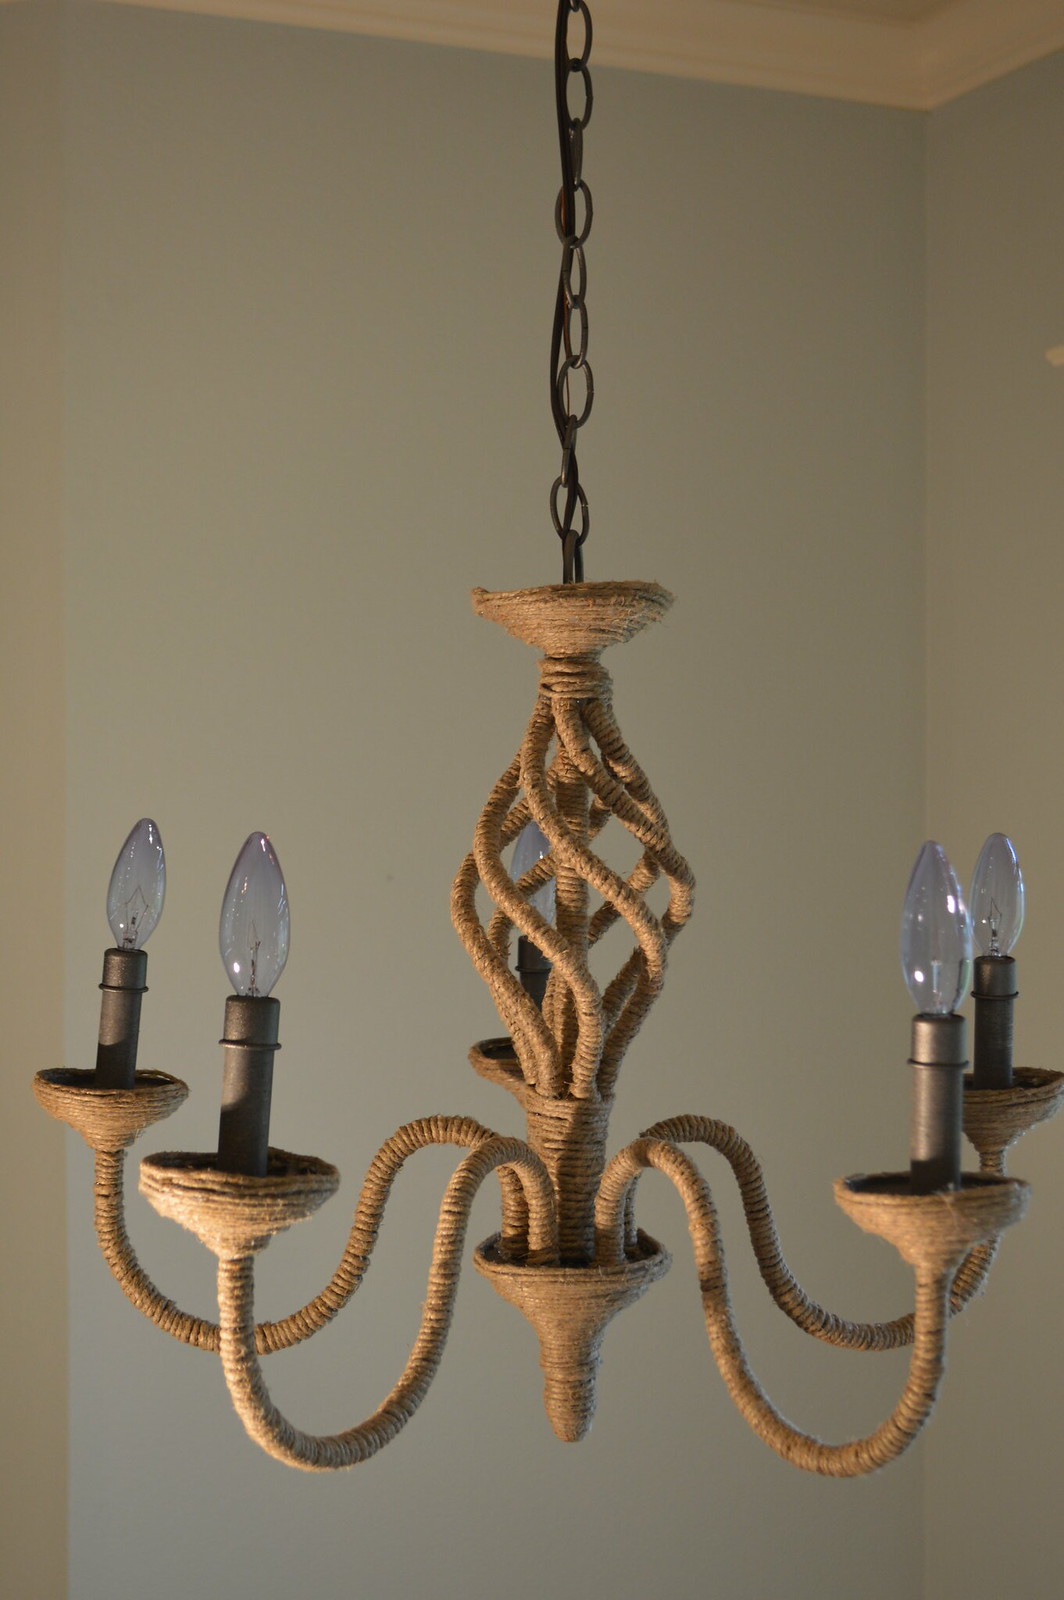
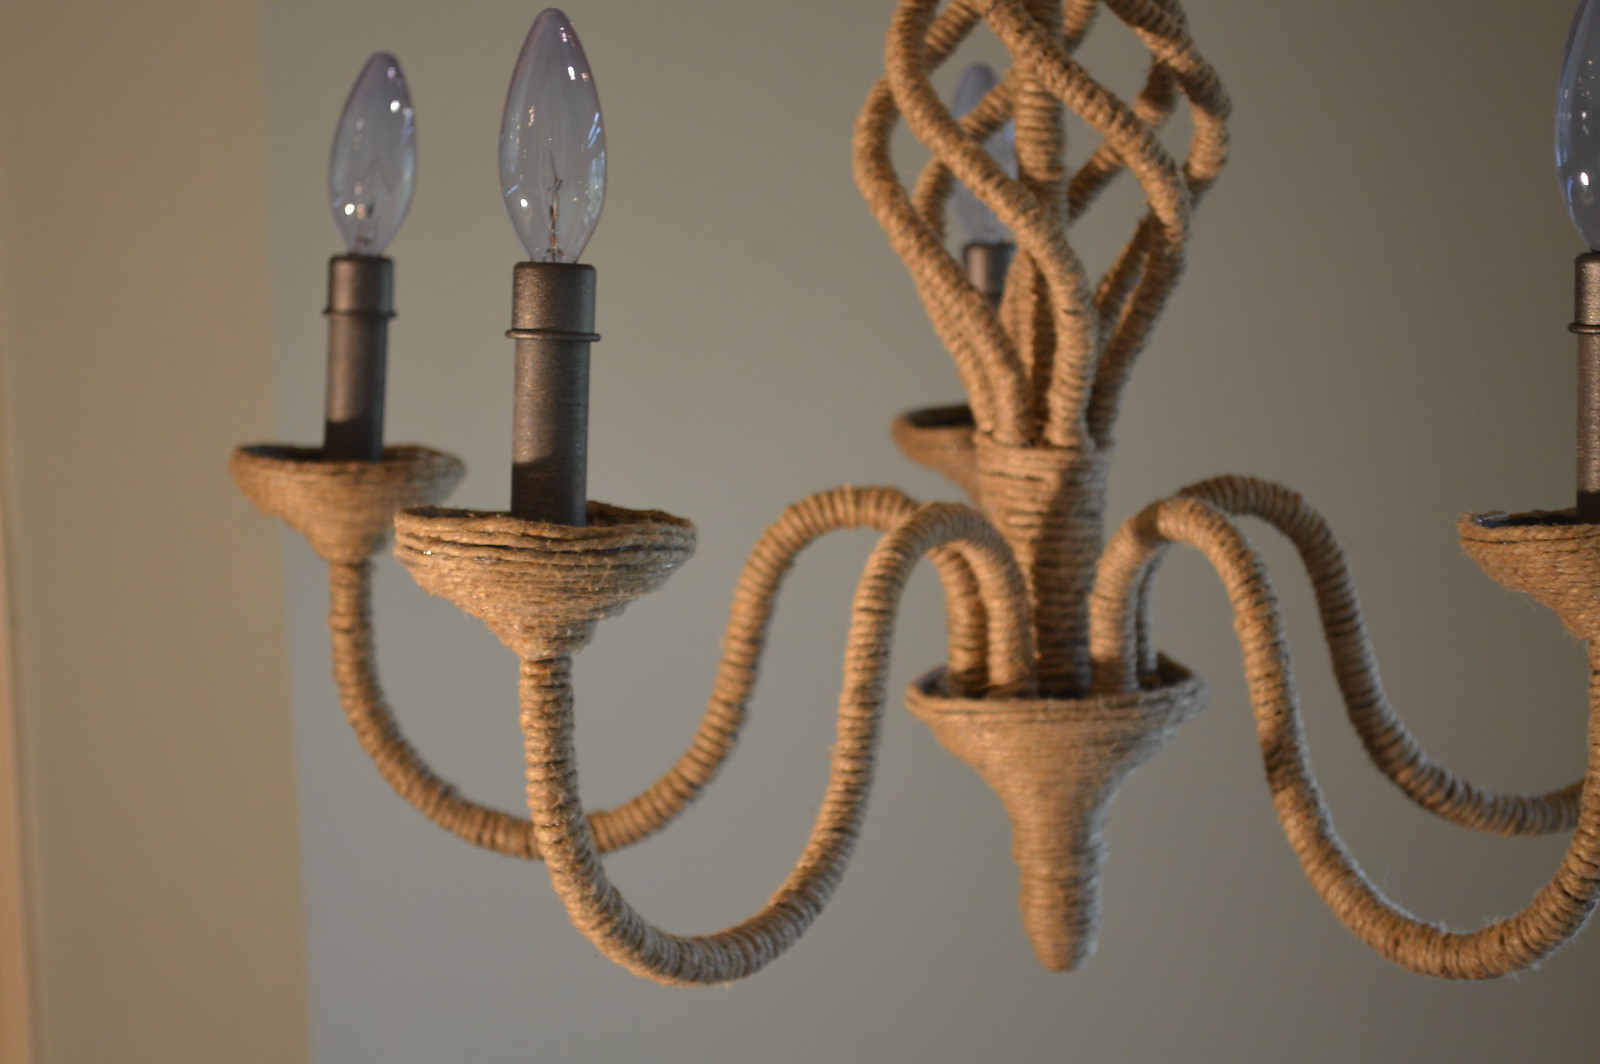
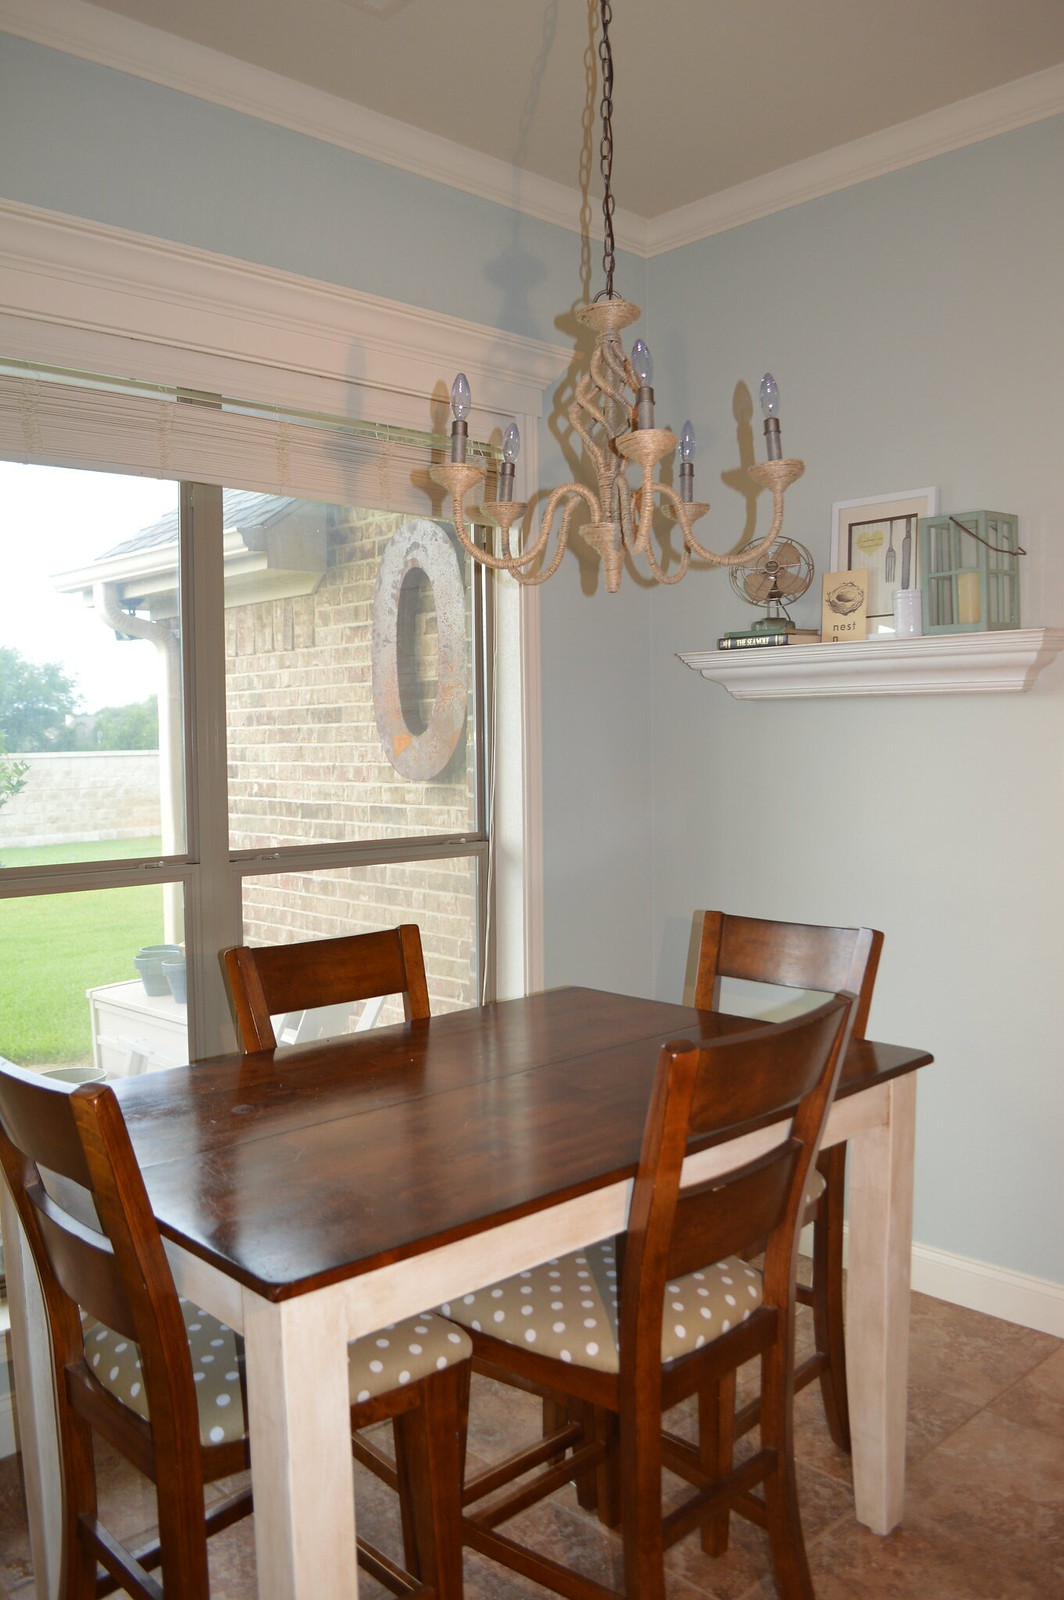
So I decided to make my own. After reading through a couple other blog tutorials (here and here), I felt pretty confident that I could pull this off and set out to find the perfect chandelier. I knew I wanted upward facing candelabra bulbs and so the current light fixture wasn't going to work. As luck would have it, our local Goodwill carries a large selection of chandeliers that are new and still in the box! AND they just so happened to be 50% off the week I found myself looking for one. Score. Fifteen bucks later, I hurried out of the store with my treasure.

I also headed over to Walmart and picked up a couple 20 pound hemp balls. I chose to use hemp instead of jute, because hemp tends to be more durable. So says the web, anyway. Once I had all of my supplies together, I grabbed my hot glue gun, a good pair of scissors, and settled in for a long day of wrapping.


Please note the wine and Vampire Diaries on Netflix for the win!

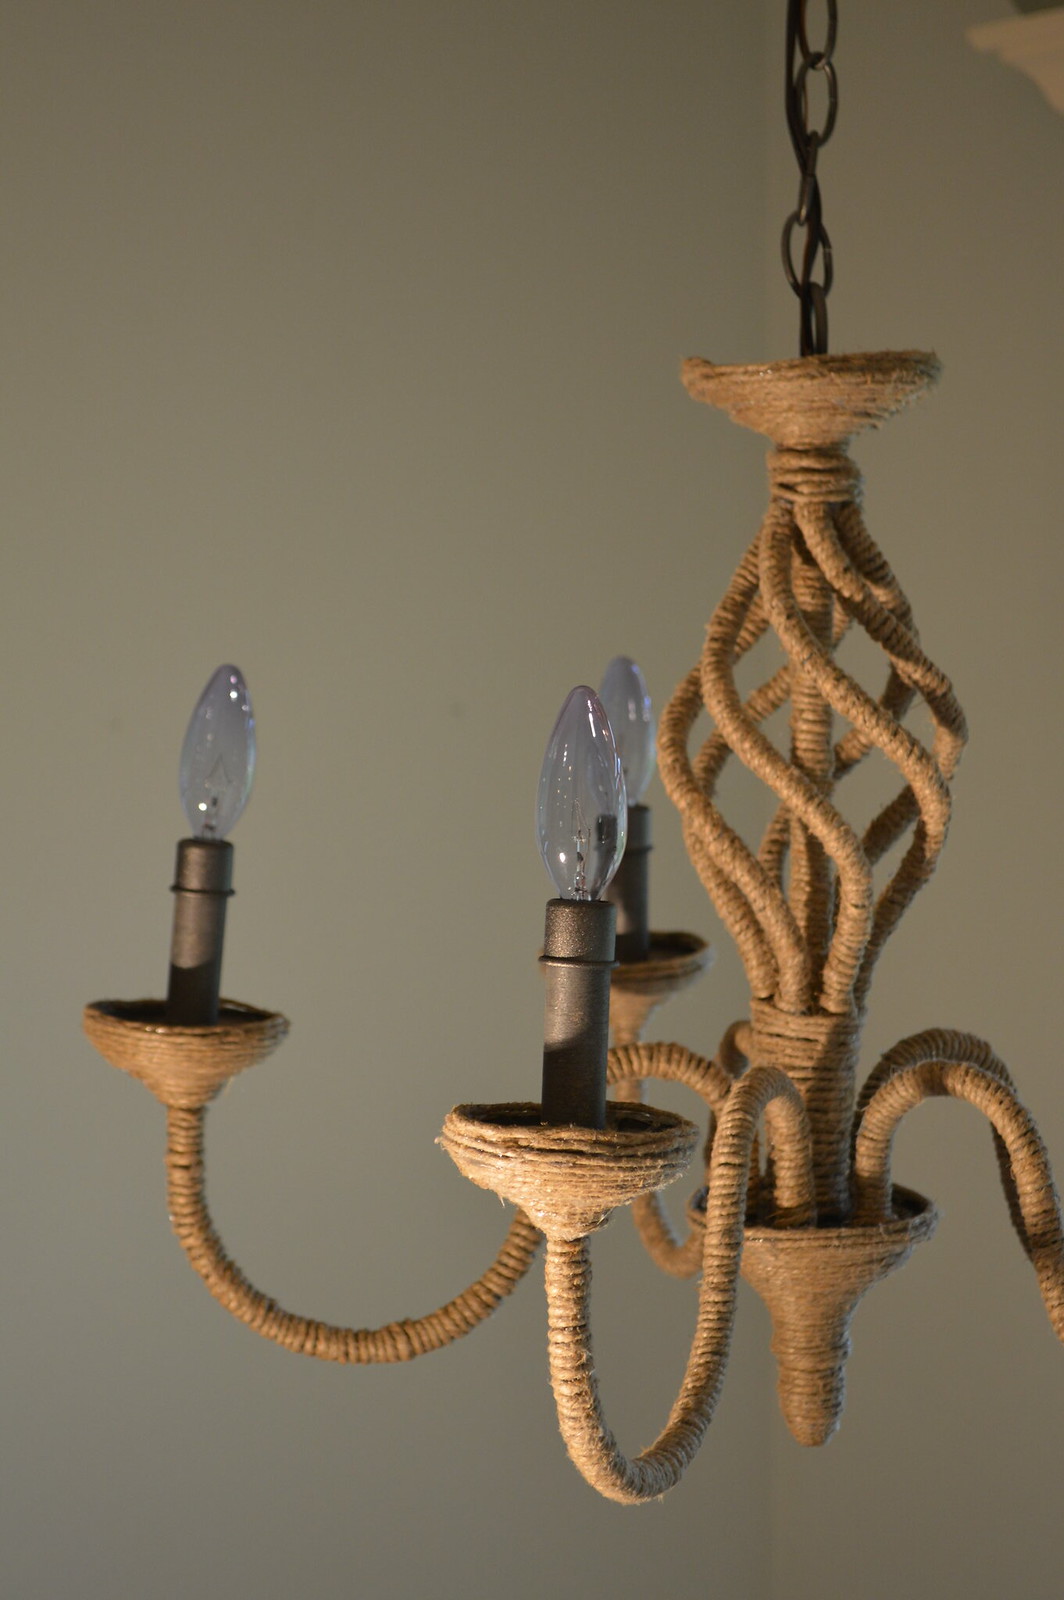
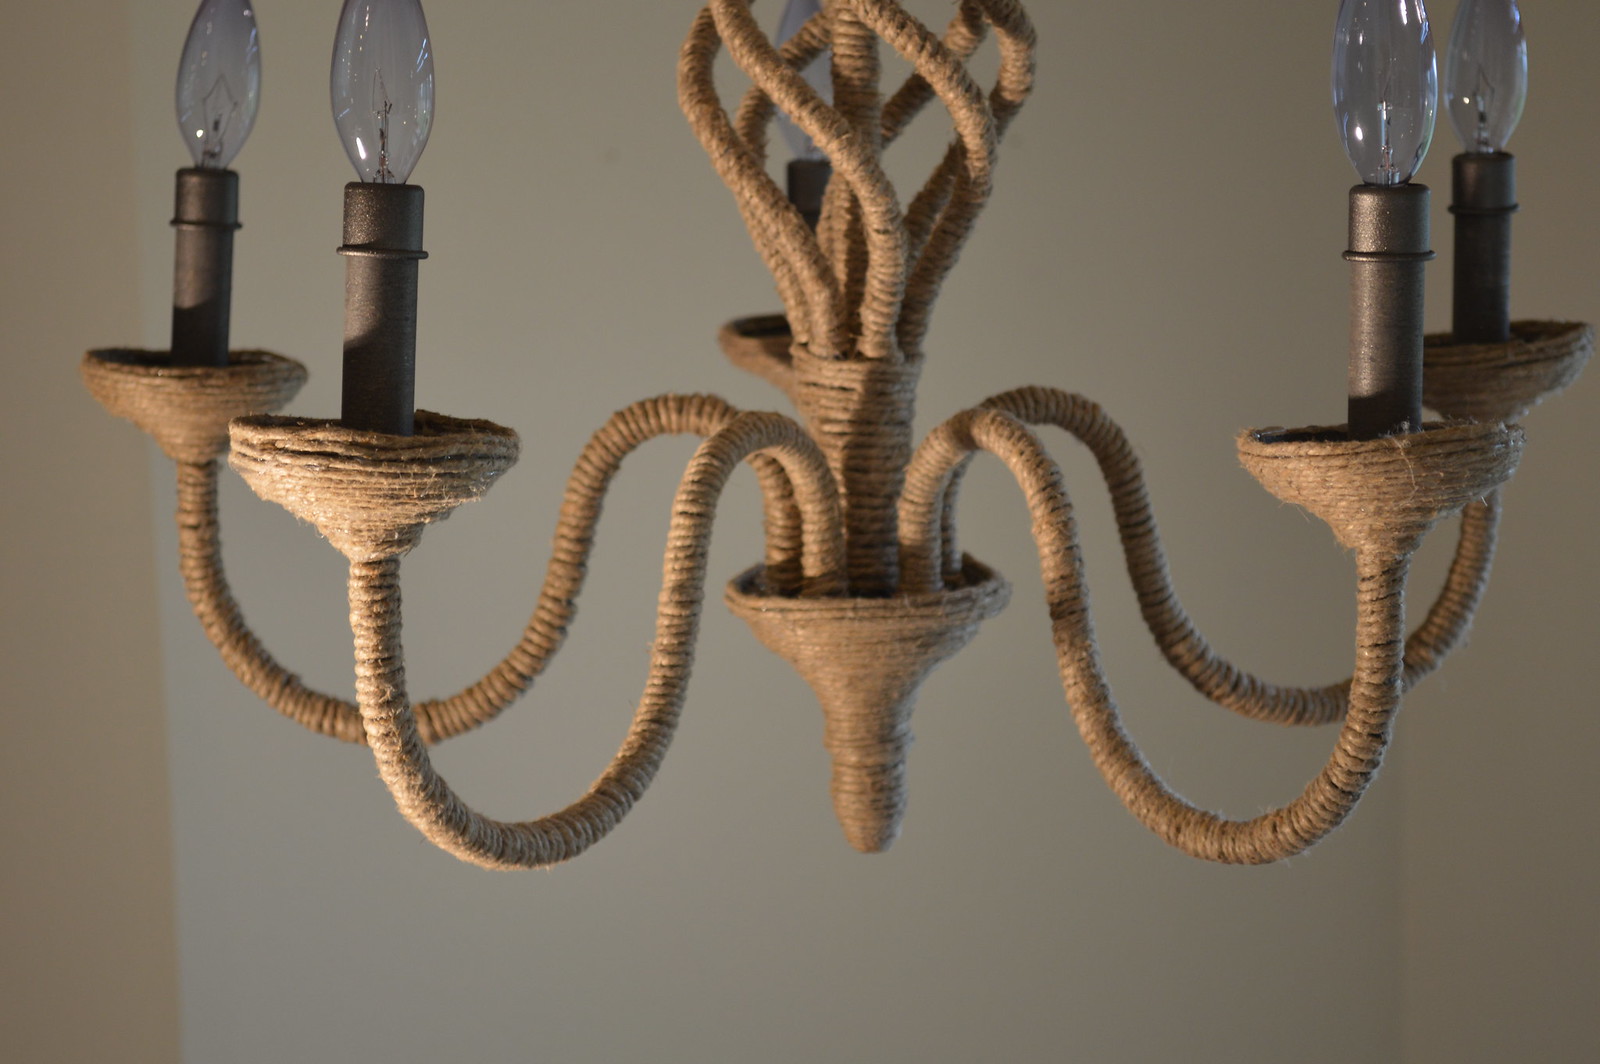
I chose to attack the chandelier in sections and used a long, single cord of hemp for each section. I started from the bottom, moved to each of the arms, and then attacked the curvy middle section one bar at a time. I tried to begin each section in the most concealed place possible, usually a crevice or corner. Once I had the end of my cord glued in place, I began wrapping. I added glue to the side of the chandelier as I went. The glue would spread pretty evenly beneath the hemp, so there wasn't any need to cover the whole base in glue.


This project took for.freaking.ever. I worked on it from breakfast to bedtime on a Saturday. While it would have been easy to break the project up over a couple days, it's rather monotonous and I just wanted it finished. So I powered through.


I had originally wrapped the "candle sticks" in hemp as well, but decided the next day to remove this part. Some friends of ours noted that this could be a possible fire hazard...hot bulbs and all...so I got a little spooked and decided to play it safe.


One thing I would do differently next time...I would use super glue instead of hot glue. I loved how quickly the hot glue dried, but I acquired quite the collection of burns. Super glue would have accomplished the same without the injuries. The hot glue also tended to pool above the hemp in places, which required me to peel the glue globs away once dry. Not a huge deal. Just an extra, avoidable step.


I am so happy with how it turned out! And while I had originally planned for this to serve as a $30 quick fix until we could save up for what we really wanted, I may just keep it around for the long haul! It fits our space and our personality perfectly and I am so excited to finally have one little corner of the house nearly finished! Even if it is just a corner. ;)

Linked up to these parties:
Home Stories A to Z / City Farmhouse / The Farmhouse Porch / The Wood Grain Cottage / So Much Better With Age

Tuesday, May 21, 2013

DIY: a coffee table

In the interest of saving money, filling this house with furniture, and creating some sentimental pieces that we can look back on with warm fuzzies, Tanner has been busy sharpening his furniture making skills. After his success building a bed for our master bedroom (which I realize I haven't blogged yet...I.am.terrible.), we set our sights on a new coffee table.

We chose this beauty from Restoration Hardware as our inspiration. I love RH. Even though many of their pieces tend to feel a little heavy and masculine to me, I think they do a good job of blending our styles.

Tanner started the project by drawing up a design based on our inspiration pictures and making a shopping list.


Our original plan was to use reclaimed wood from a store a few towns over, but for one reason or another we just never could make it there on a day they were open. In the end we went with pine boards from Lowe's. Though we've since learned that these probably weren't the best choice for this project (due to pine being a soft wood), this was a learning project and we went with what we knew and what was affordable. 

We also had a really hard time finding balusters for the legs. Anybody know where to find these suckers? We searched everywhere--notta. In the end, we decided to go with some solid, chunky candlesticks we found at a Pottery Barn outlet. 


Our original plan was to age and/or stain the wood, but first we needed to remove the paint from our PB candlesticks. This did not go well. In fact, it went terribly. We tried sanding, we used a drimel, and we bought every paint stripping product we could get our hands on. N o t h i n g worked. Nothing. After about two weeks of trying to scrape bubblegum smelling orange goop out of the grooves, we gave up. Tanner was ready to throw away the sticks and find something new, and we actually spent a weekend shopping for replacement legs...without success. In the end, we decided to keep our candlesticks and go with paint. 


We went with Annie Sloan chalk paint in country grey. I'd had some success using Annie Sloan paint with other projects and thought it would be a good option for the look we wanted.


Please excuse the messy garage...I'm blaming it on the not so recent move.


One of the great things about the Annie Sloan paint is that is doesn't require any sanding or priming before you begin painting. And it's quick drying! It's perfect for people like me who are too impatient to deal with lots and lots of steps. After two coats of the country grey, I covered the wood in one coat of clear wax and one coat of dark wax. 


There are so many great Annie Sloan tutorials out there (this one and this one were really helpful) that it really doesn't make sense for me to break down each and every step here... In summary, it's pretty simple. Just stay with the grain of the wood and you can't screw it up. 


I am ridiculously happy with the final product and so proud of my boy! Who knew my green, techie husband was such a handy man?! 

It was definitely a learning experience, and we have a running bet on whether or not it is sturdy enough to stand the test of time...we shall see. Regardless, we are feeling really excited to try more projects (console table, anyone?), and I can't wait to start decorating this room! We spend so much time here that I really want to make it a beautiful, functional space that reflects both our styles. Pretty sure there's a new rug and side tables in our future.


Linked up to these parties: