
I. am so excited. to be sharing one of those today! So excited.
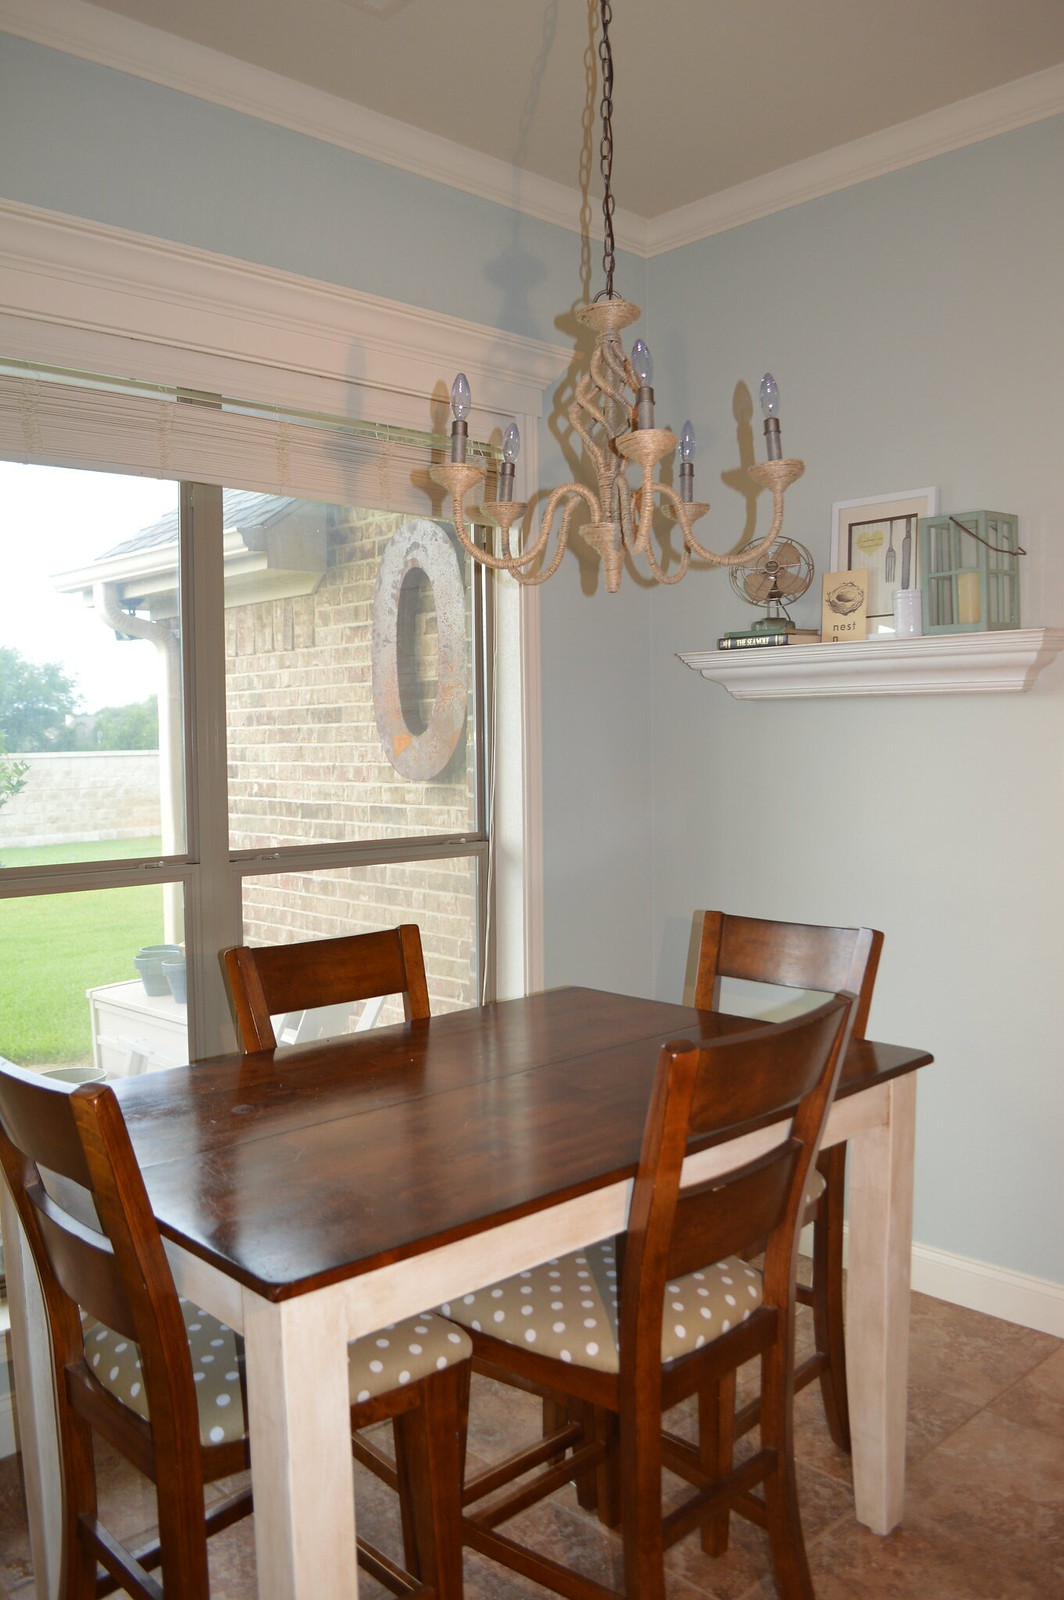
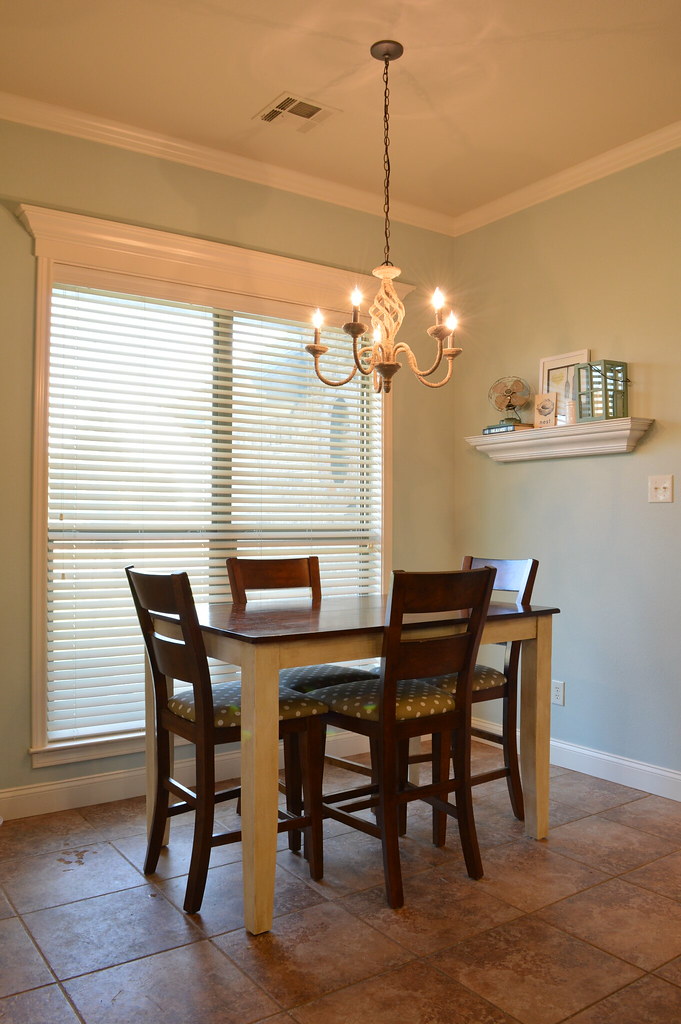
But first, meet our breakfast area.
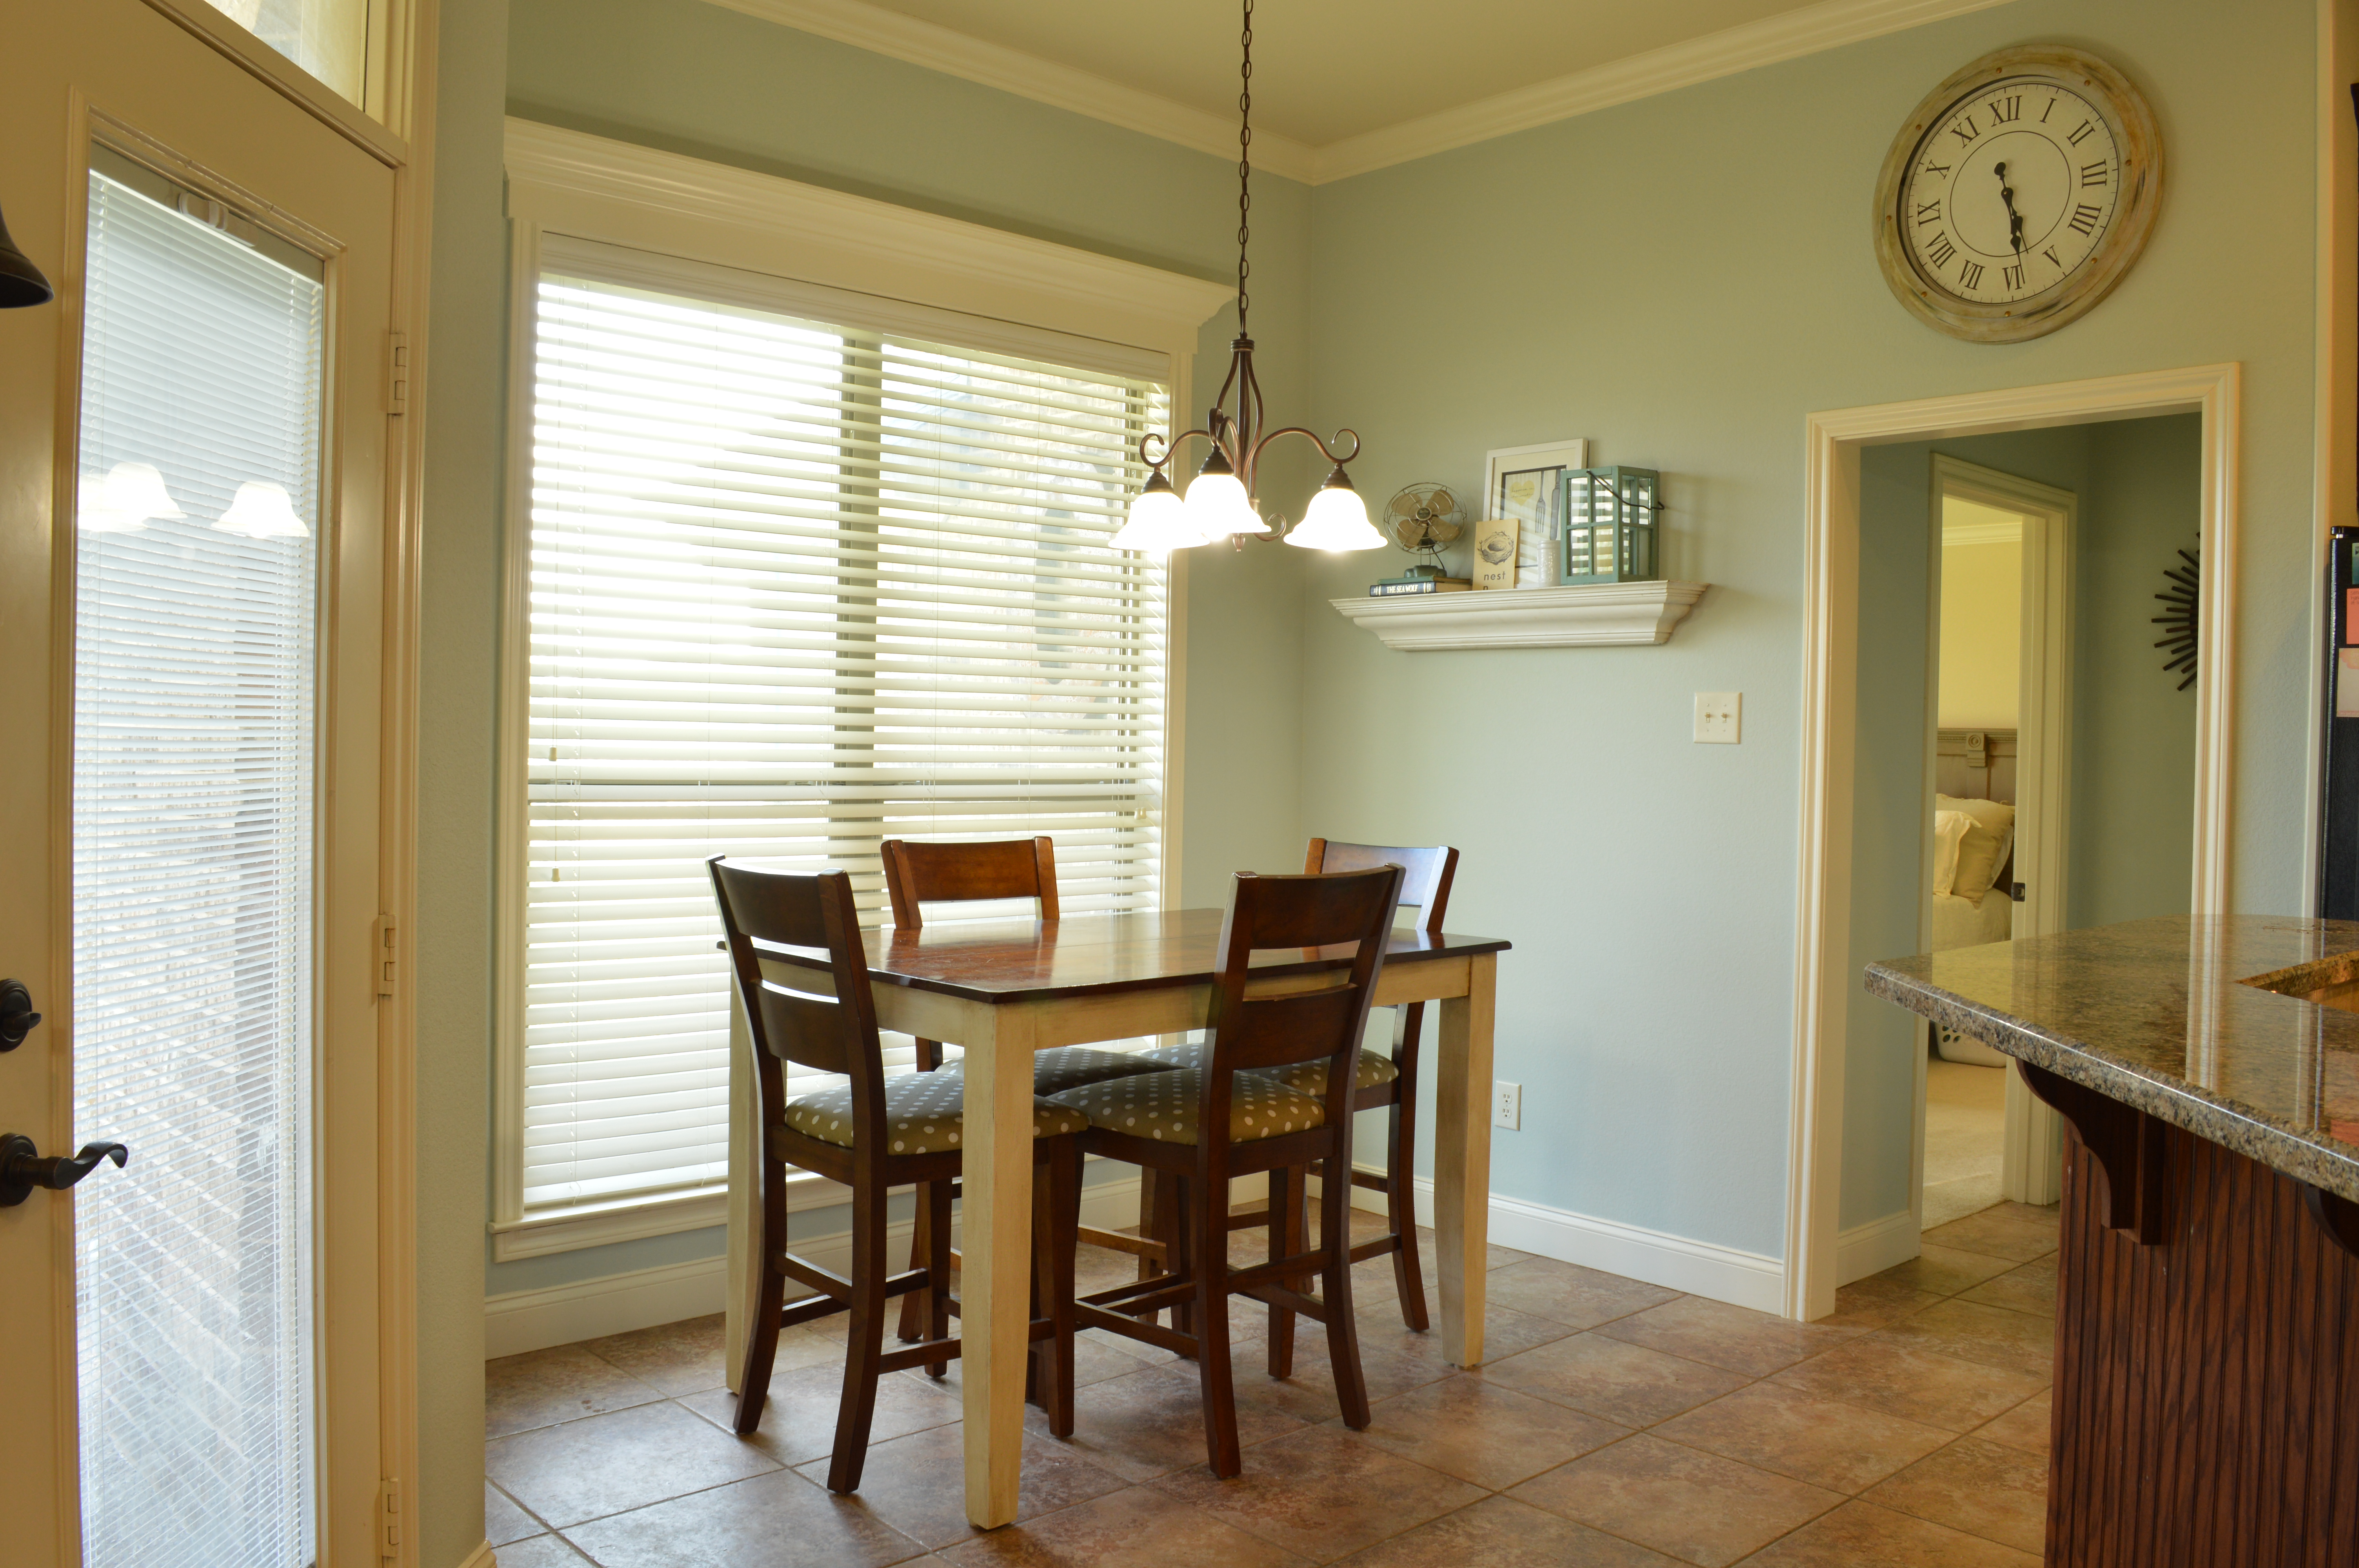
Not awful, right? It's really come a long way. New paint on the walls and table have really helped brighten things up in there. That light fixture though...kind of a theme happening throughout the house. And not really my favorite.
So we're updating! Fixture by fixture. Slowly but surely. With a little DIY lovin' along the way.
Our updated color palette is on the cool side. Lots of muted blues and greens. A little bit cottage. A little bit coastal. Keeping this in mind, I started looking for the perfect light fixture to complete our space. I found myself swooning over beauties like this, this, and this. Those price tags though...that made me sad.
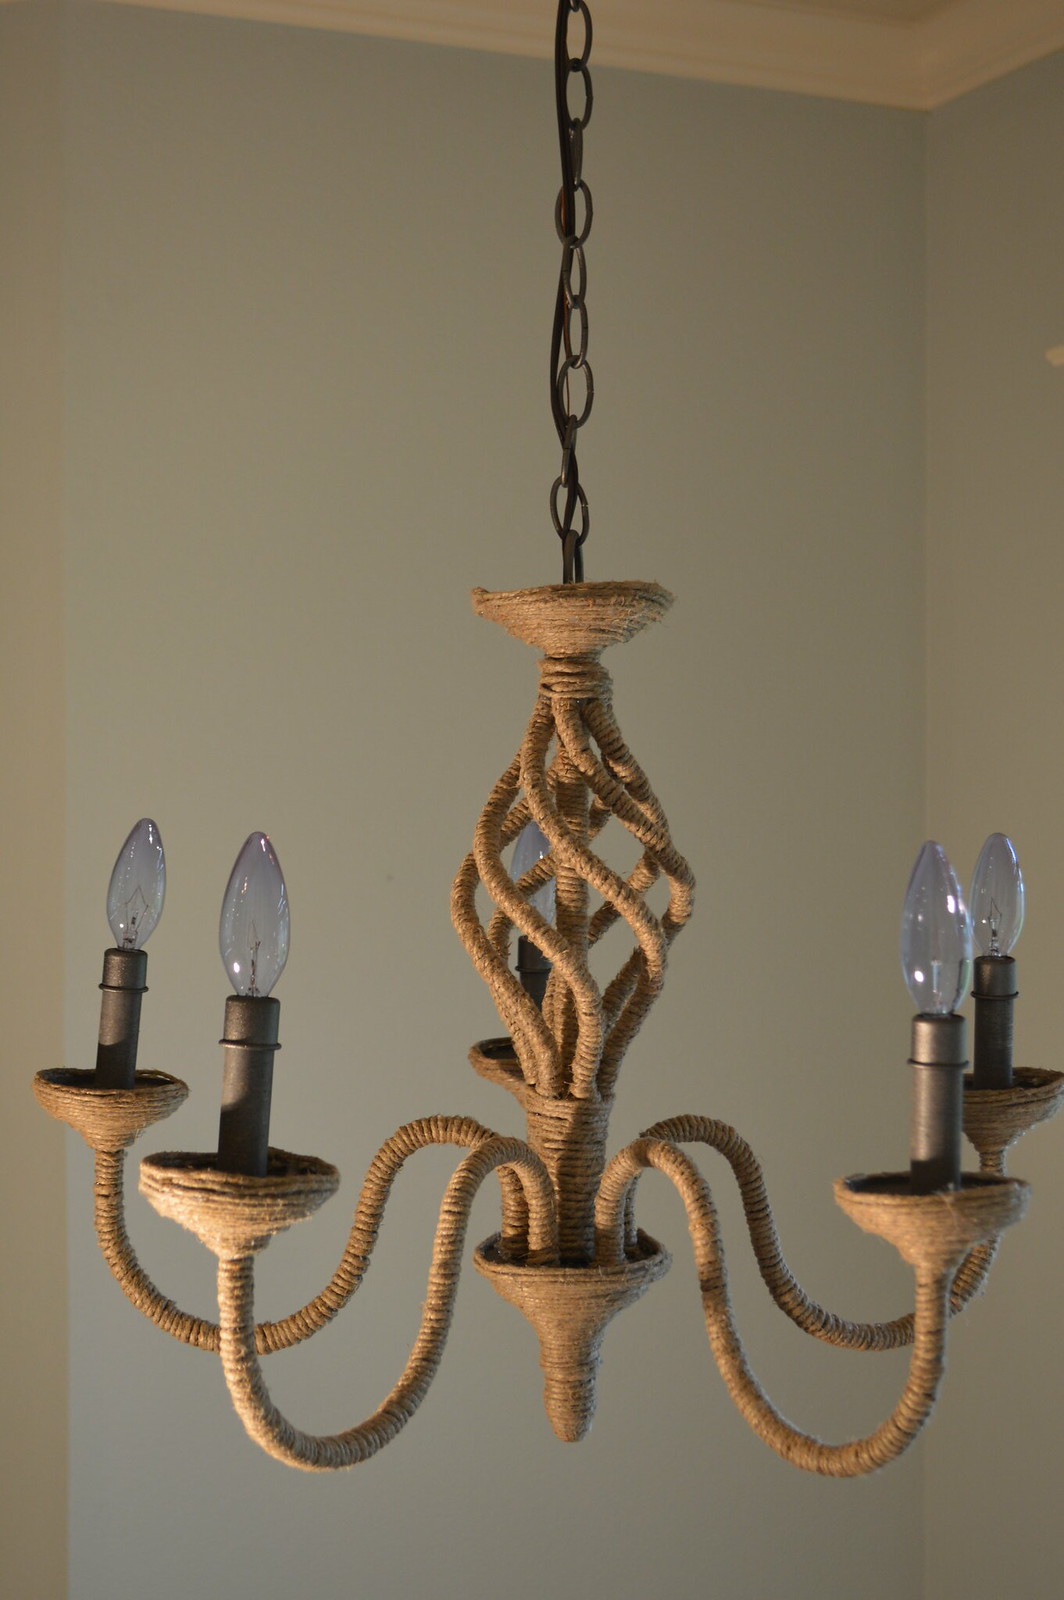
So I decided to make my own. After reading through a couple other blog tutorials (here and here), I felt pretty confident that I could pull this off and set out to find the perfect chandelier. I knew I wanted upward facing candelabra bulbs and so the current light fixture wasn't going to work. As luck would have it, our local Goodwill carries a large selection of chandeliers that are new and still in the box! AND they just so happened to be 50% off the week I found myself looking for one. Score. Fifteen bucks later, I hurried out of the store with my treasure.
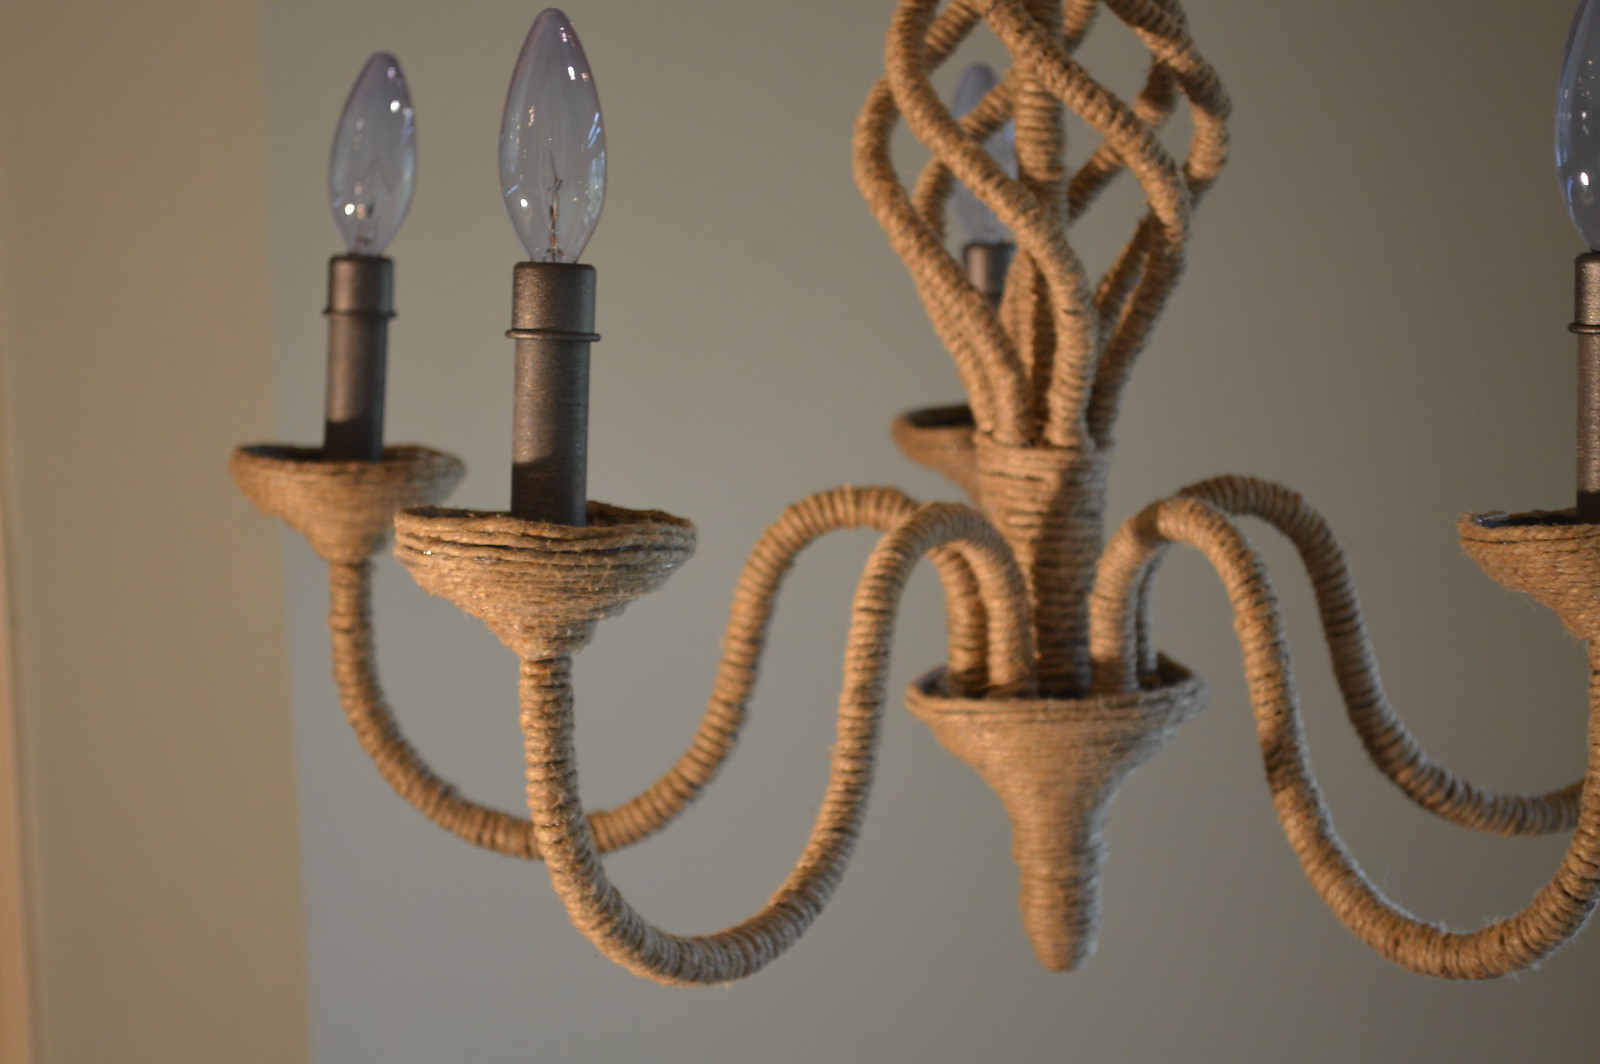
I also headed over to Walmart and picked up a couple 20 pound hemp balls. I chose to use hemp instead of jute, because hemp tends to be more durable. So says the web, anyway. Once I had all of my supplies together, I grabbed my hot glue gun, a good pair of scissors, and settled in for a long day of wrapping.


Please note the wine and Vampire Diaries on Netflix for the win!
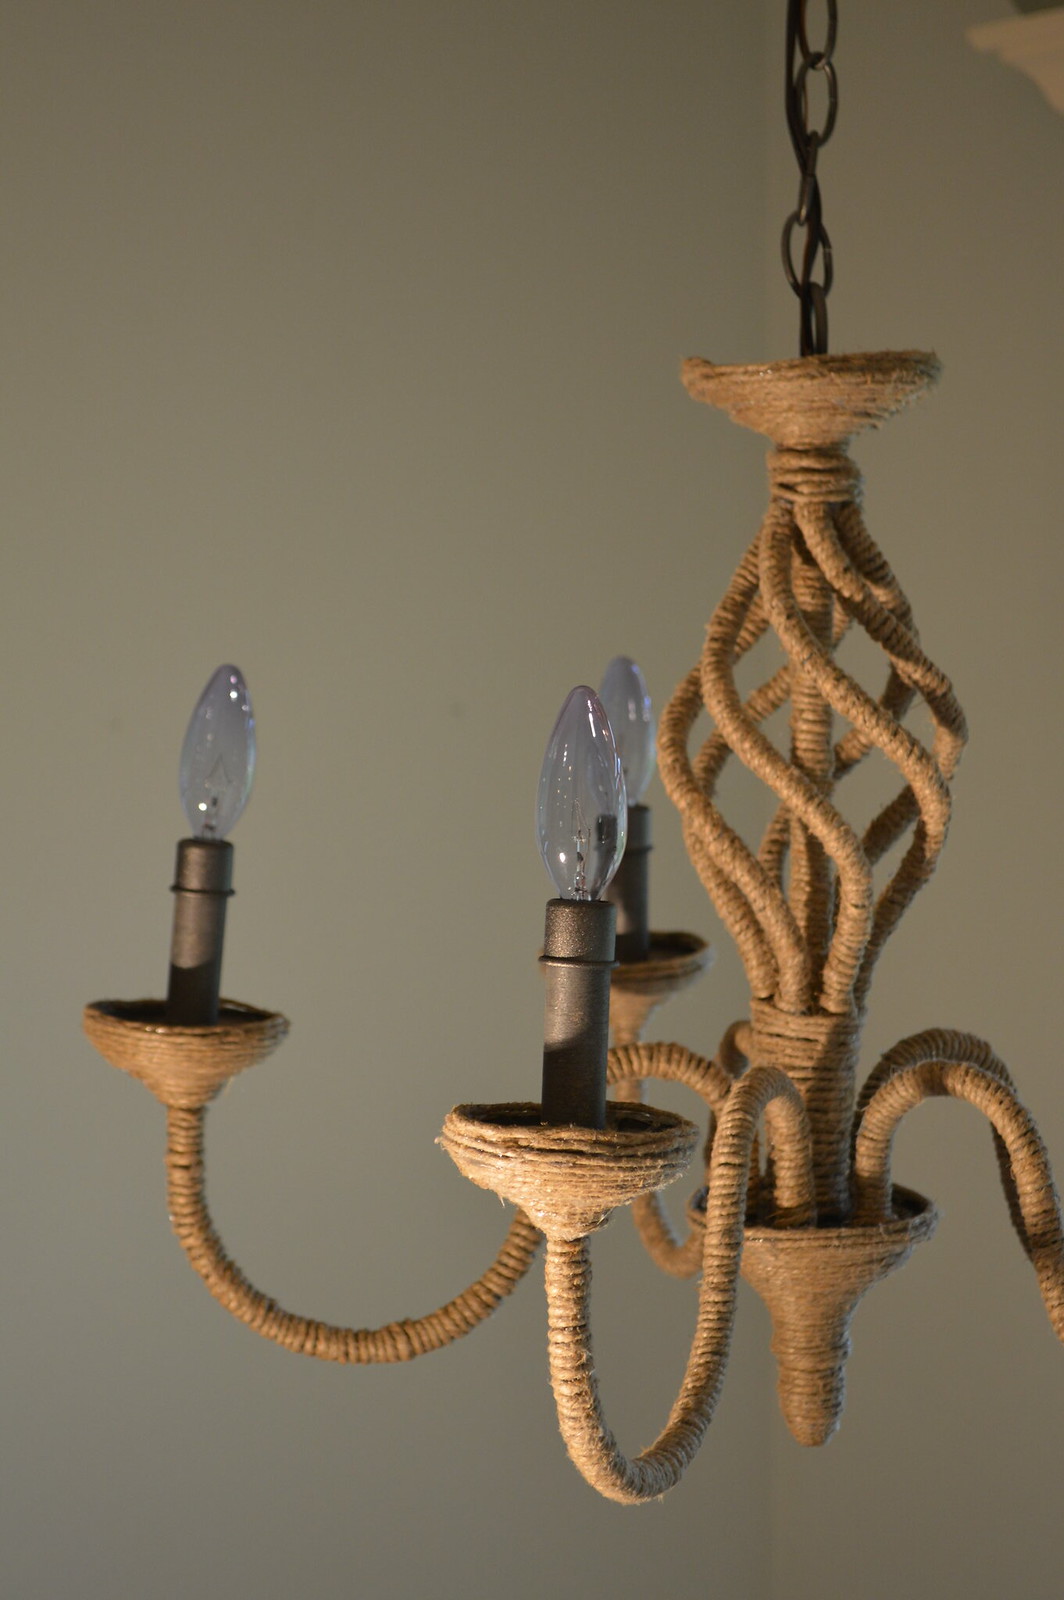
I chose to attack the chandelier in sections and used a long, single cord of hemp for each section. I started from the bottom, moved to each of the arms, and then attacked the curvy middle section one bar at a time. I tried to begin each section in the most concealed place possible, usually a crevice or corner. Once I had the end of my cord glued in place, I began wrapping. I added glue to the side of the chandelier as I went. The glue would spread pretty evenly beneath the hemp, so there wasn't any need to cover the whole base in glue.


This project took for.freaking.ever. I worked on it from breakfast to bedtime on a Saturday. While it would have been easy to break the project up over a couple days, it's rather monotonous and I just wanted it finished. So I powered through.

I had originally wrapped the "candle sticks" in hemp as well, but decided the next day to remove this part. Some friends of ours noted that this could be a possible fire hazard...hot bulbs and all...so I got a little spooked and decided to play it safe.

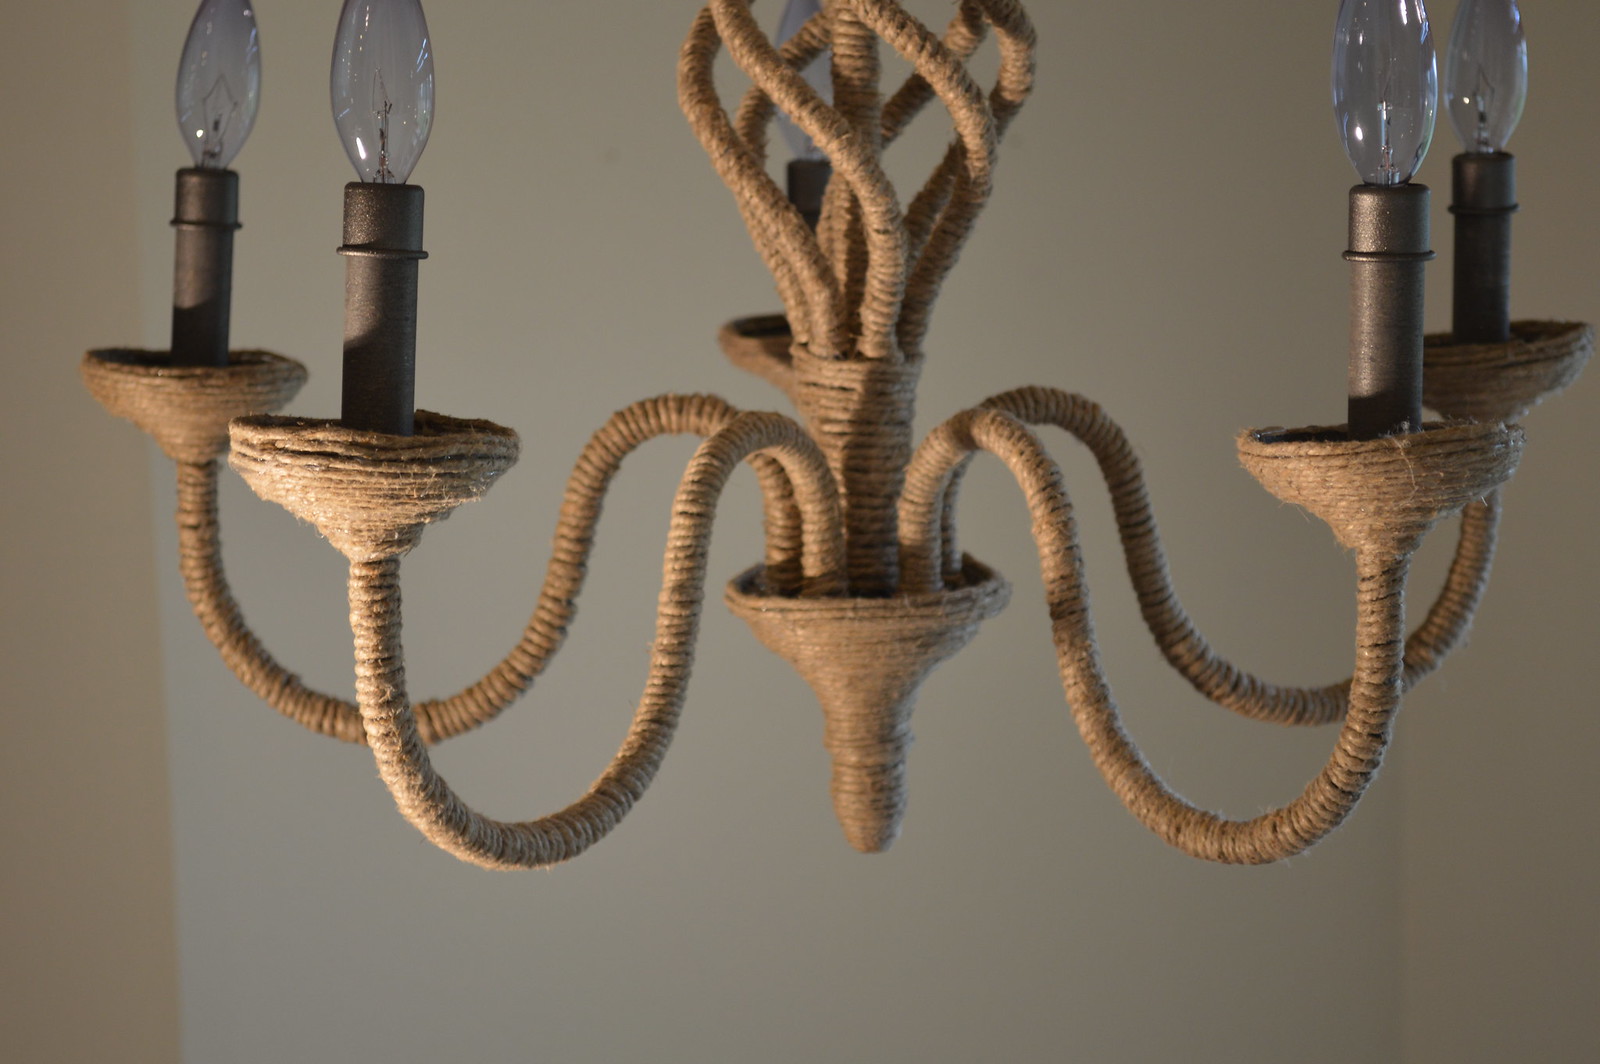
One thing I would do differently next time...I would use super glue instead of hot glue. I loved how quickly the hot glue dried, but I acquired quite the collection of burns. Super glue would have accomplished the same without the injuries. The hot glue also tended to pool above the hemp in places, which required me to peel the glue globs away once dry. Not a huge deal. Just an extra, avoidable step.
Linked up to these parties:
Home Stories A to Z / City Farmhouse / The Farmhouse Porch / The Wood Grain Cottage / So Much Better With Age
It looks so good!!! You are so talented! You need a home tour :)
ReplyDeleteThank you, lady! I'm definitely having fun with it! :D
DeleteThis is so awesome! I have just the light fixture that could use a little revamp with jute!
ReplyDeleteThanks so much!
DeleteI'd love to see a picture when you're finished! :]
Great job. I think it is perfect and nothing is better than something you made yourself.
ReplyDeleteThank you! :D
DeleteYou did an amazing job! I'd love for your to share this at our group link party, Give Me The Goods!
ReplyDeletehttp://www.somuchbetterwithage.com/2013/08/give-me-the-goods-party-no-22/
Jamie @ somuchbetterwithage.com
Thanks so much, Jamie! I will do that!
DeleteWhat a great idea ! Looks so elegant and beautiful ! I might steal this idea in the future :)
ReplyDeleteMarlin
Thanks so much! Glad you stopped by! :)
DeleteI love this clever idea! I found this on Pinterest and I am going to feature it tomorrow On my blog Made in a Day. If this is not ok please let me know and I will promptly remove it. I'm a new Follower!
ReplyDeleteKim~madeinaday
I would love that! Thanks so much! :)
DeleteWhat a fabulous makeover! That must have taken so much patience!! Thanks for sharing at Give Me the Goods. :)
ReplyDeleteRachel @ Maison de Pax
Thanks so much!
DeleteHate to be a negative Nancy but I think your friends were on the right track about the fire hazard, jute is very flammable!!
ReplyDeleteYou may be right! Removing the hemp from around the bulb area and keeping it a safe distance from the heat has definitely eased my nerves. I'm also using CFLs, which I've read put off less heat, making them a safer alternative.
DeleteThanks for stopping by!
It's awesome! What an amazing idea! I love how it feels kind of coastal...
ReplyDeleteEmily
www.houseintheheights.blogspot.com
thanks so much! glad you stopped by!
DeleteYou're amazing project is my pick for features this week at Give Me The Goods! Yay! I loved it...and the whole rest of your blog too!!! Come by and grab your feature button!
ReplyDeleteAmber@ Dimples & Pig Tales
Thanks so much!!! :D
Delete